YC-14 Post Crash Rebuild
Saturday after the crash Jam and I actually laughed pretty hard watching the video.
My son was pretty upset at the flying field but I was not to worried.
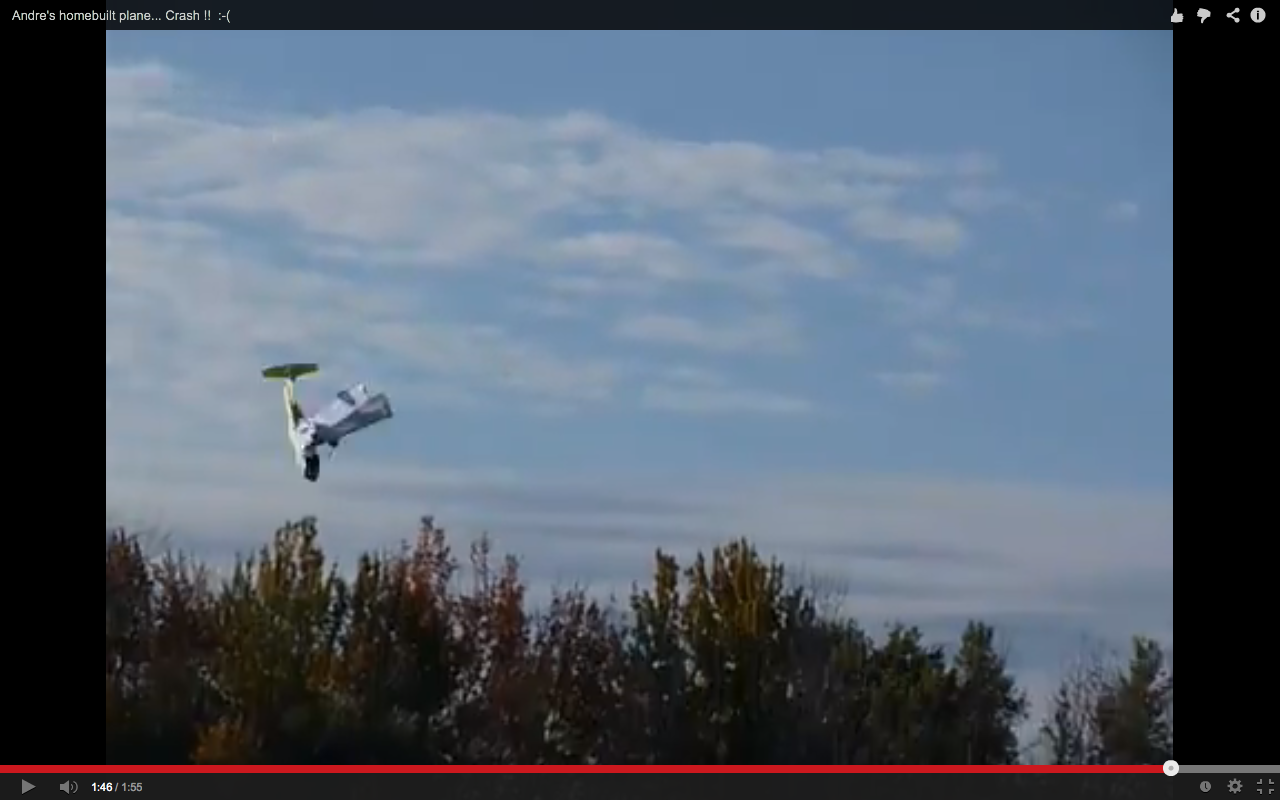
To start off I shot a quick video highlighting the damage.
First big thanks to one of the guys at the field who sold me a used 6 channel 2.6 radio set.
At least we can get flying. I like the fact it is small enough for my son’s hands.
This will be his radio long term.

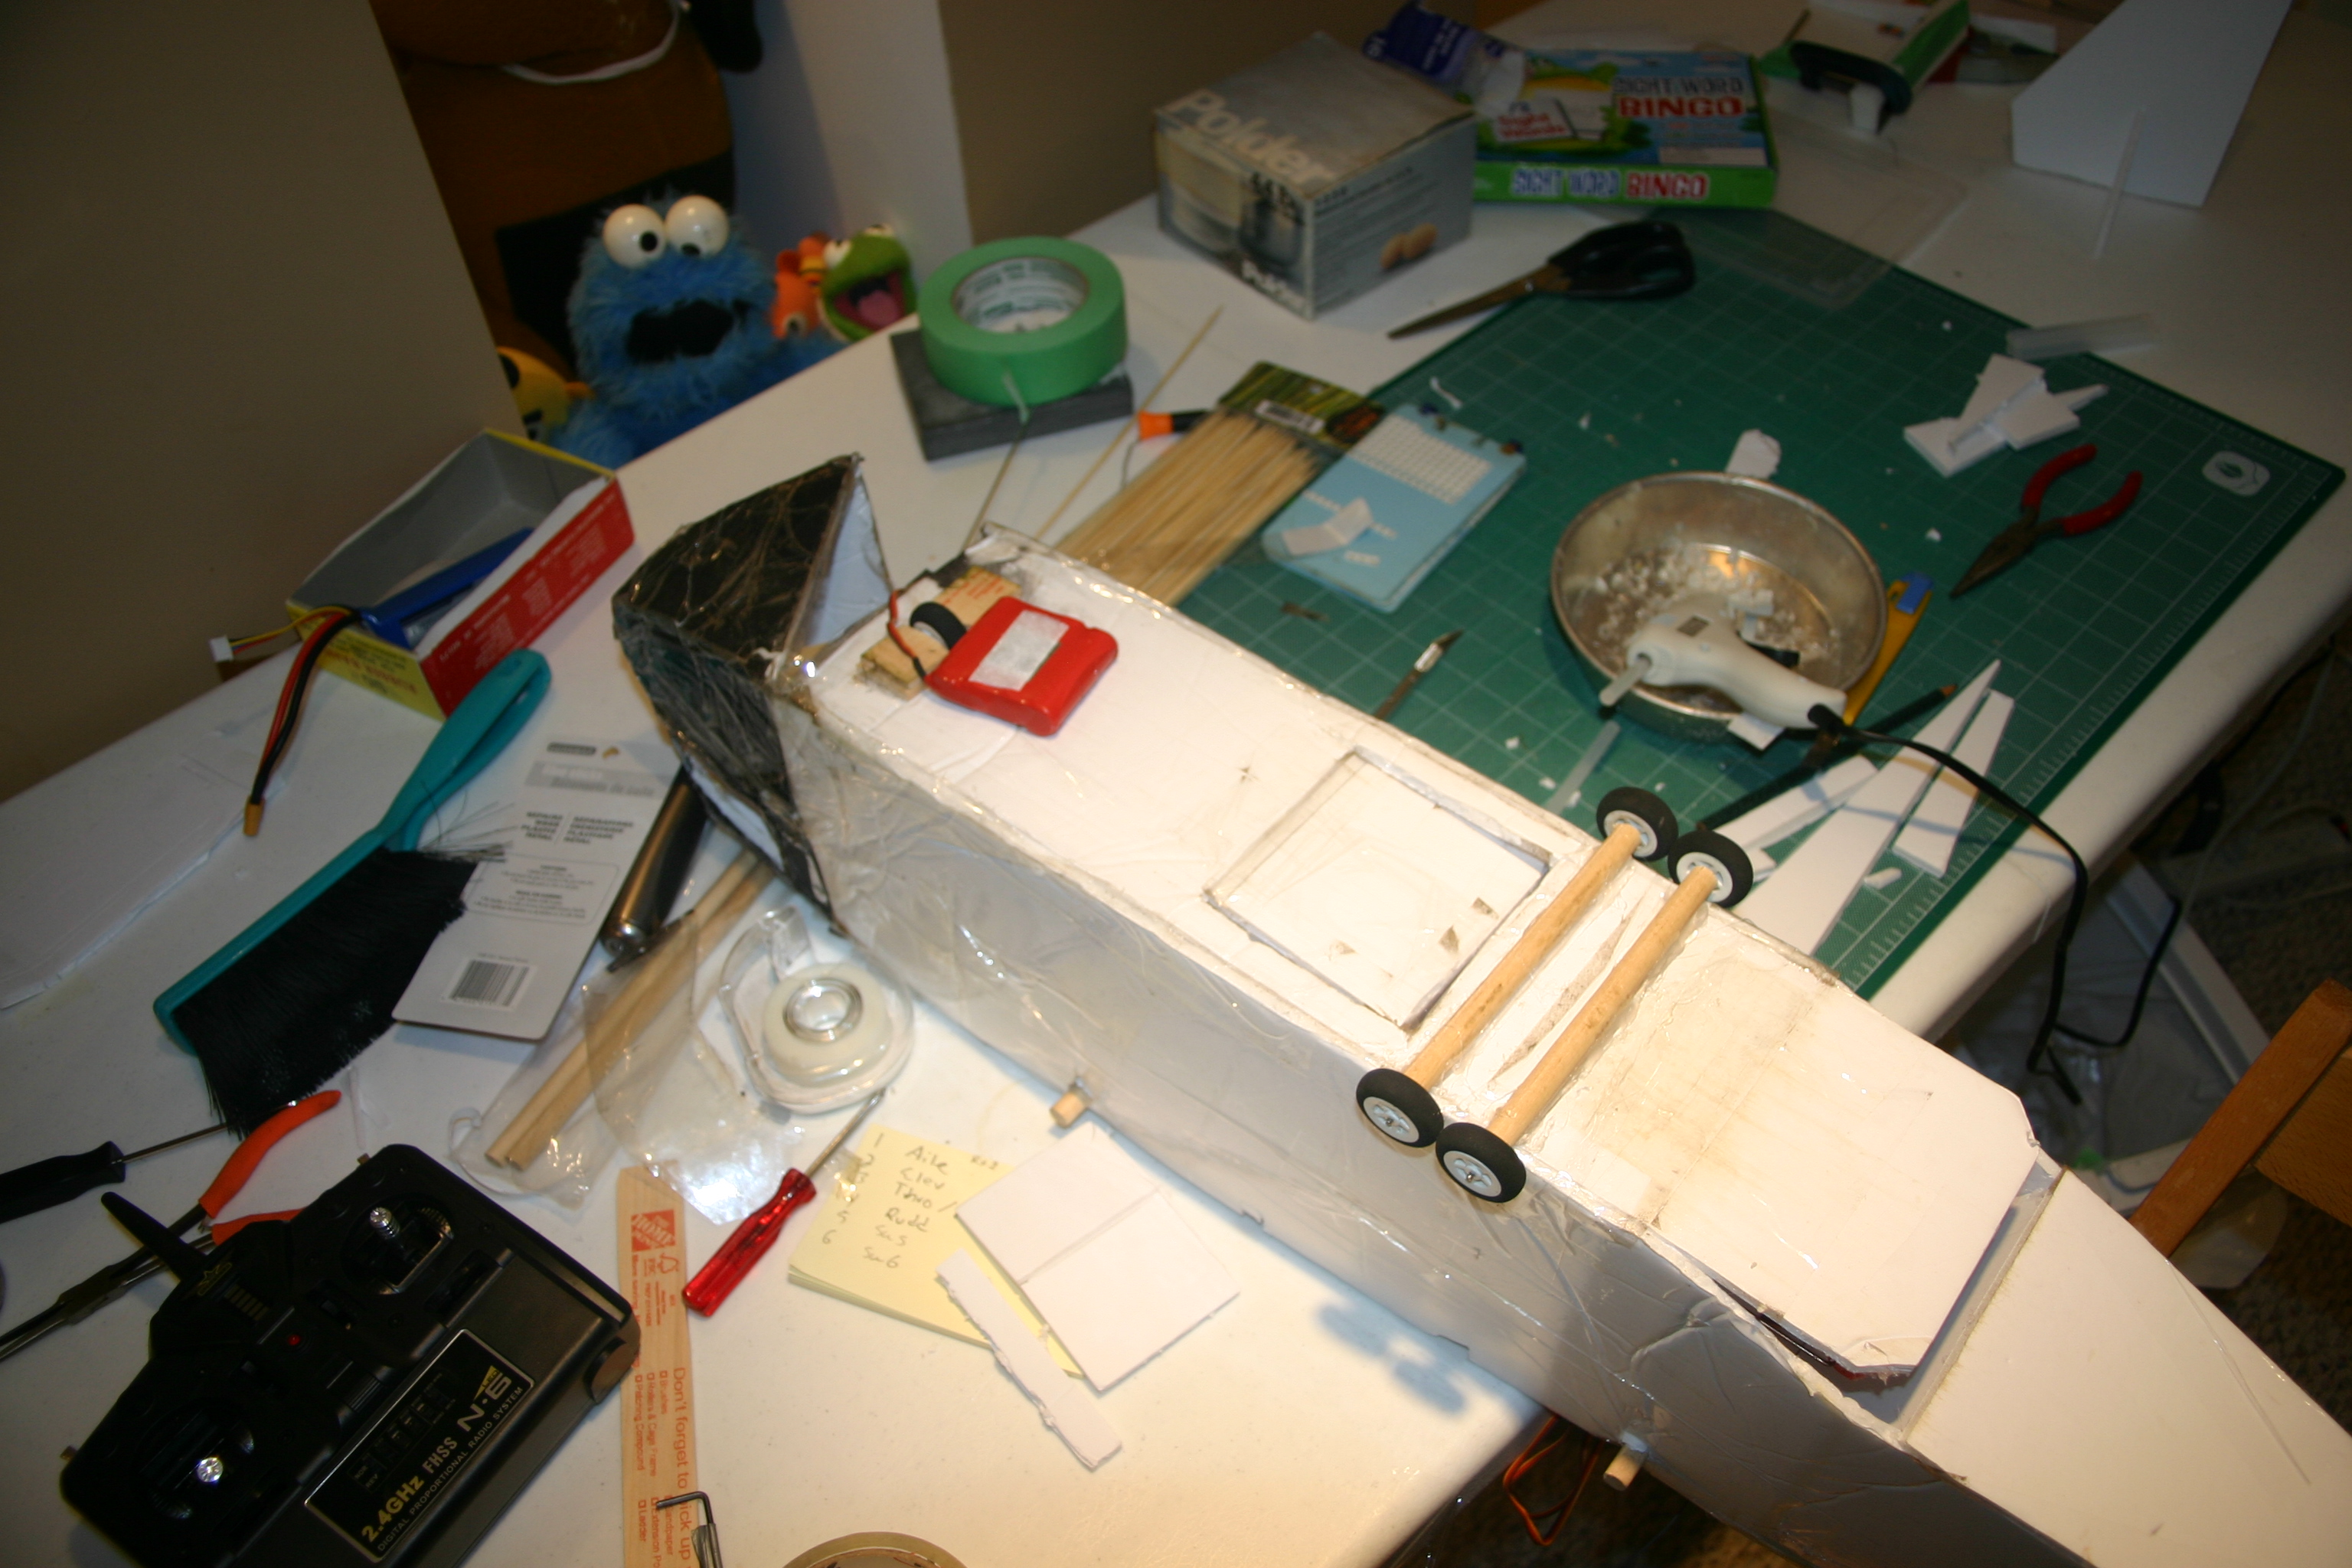
Both batteries survived the impact. Specially with them being front loaded.

Did a few screen captures. Here is the fold.

And the moments before the impact.
Tear down time.

Broken prop. Darn.

The other one did not break but does show damage.
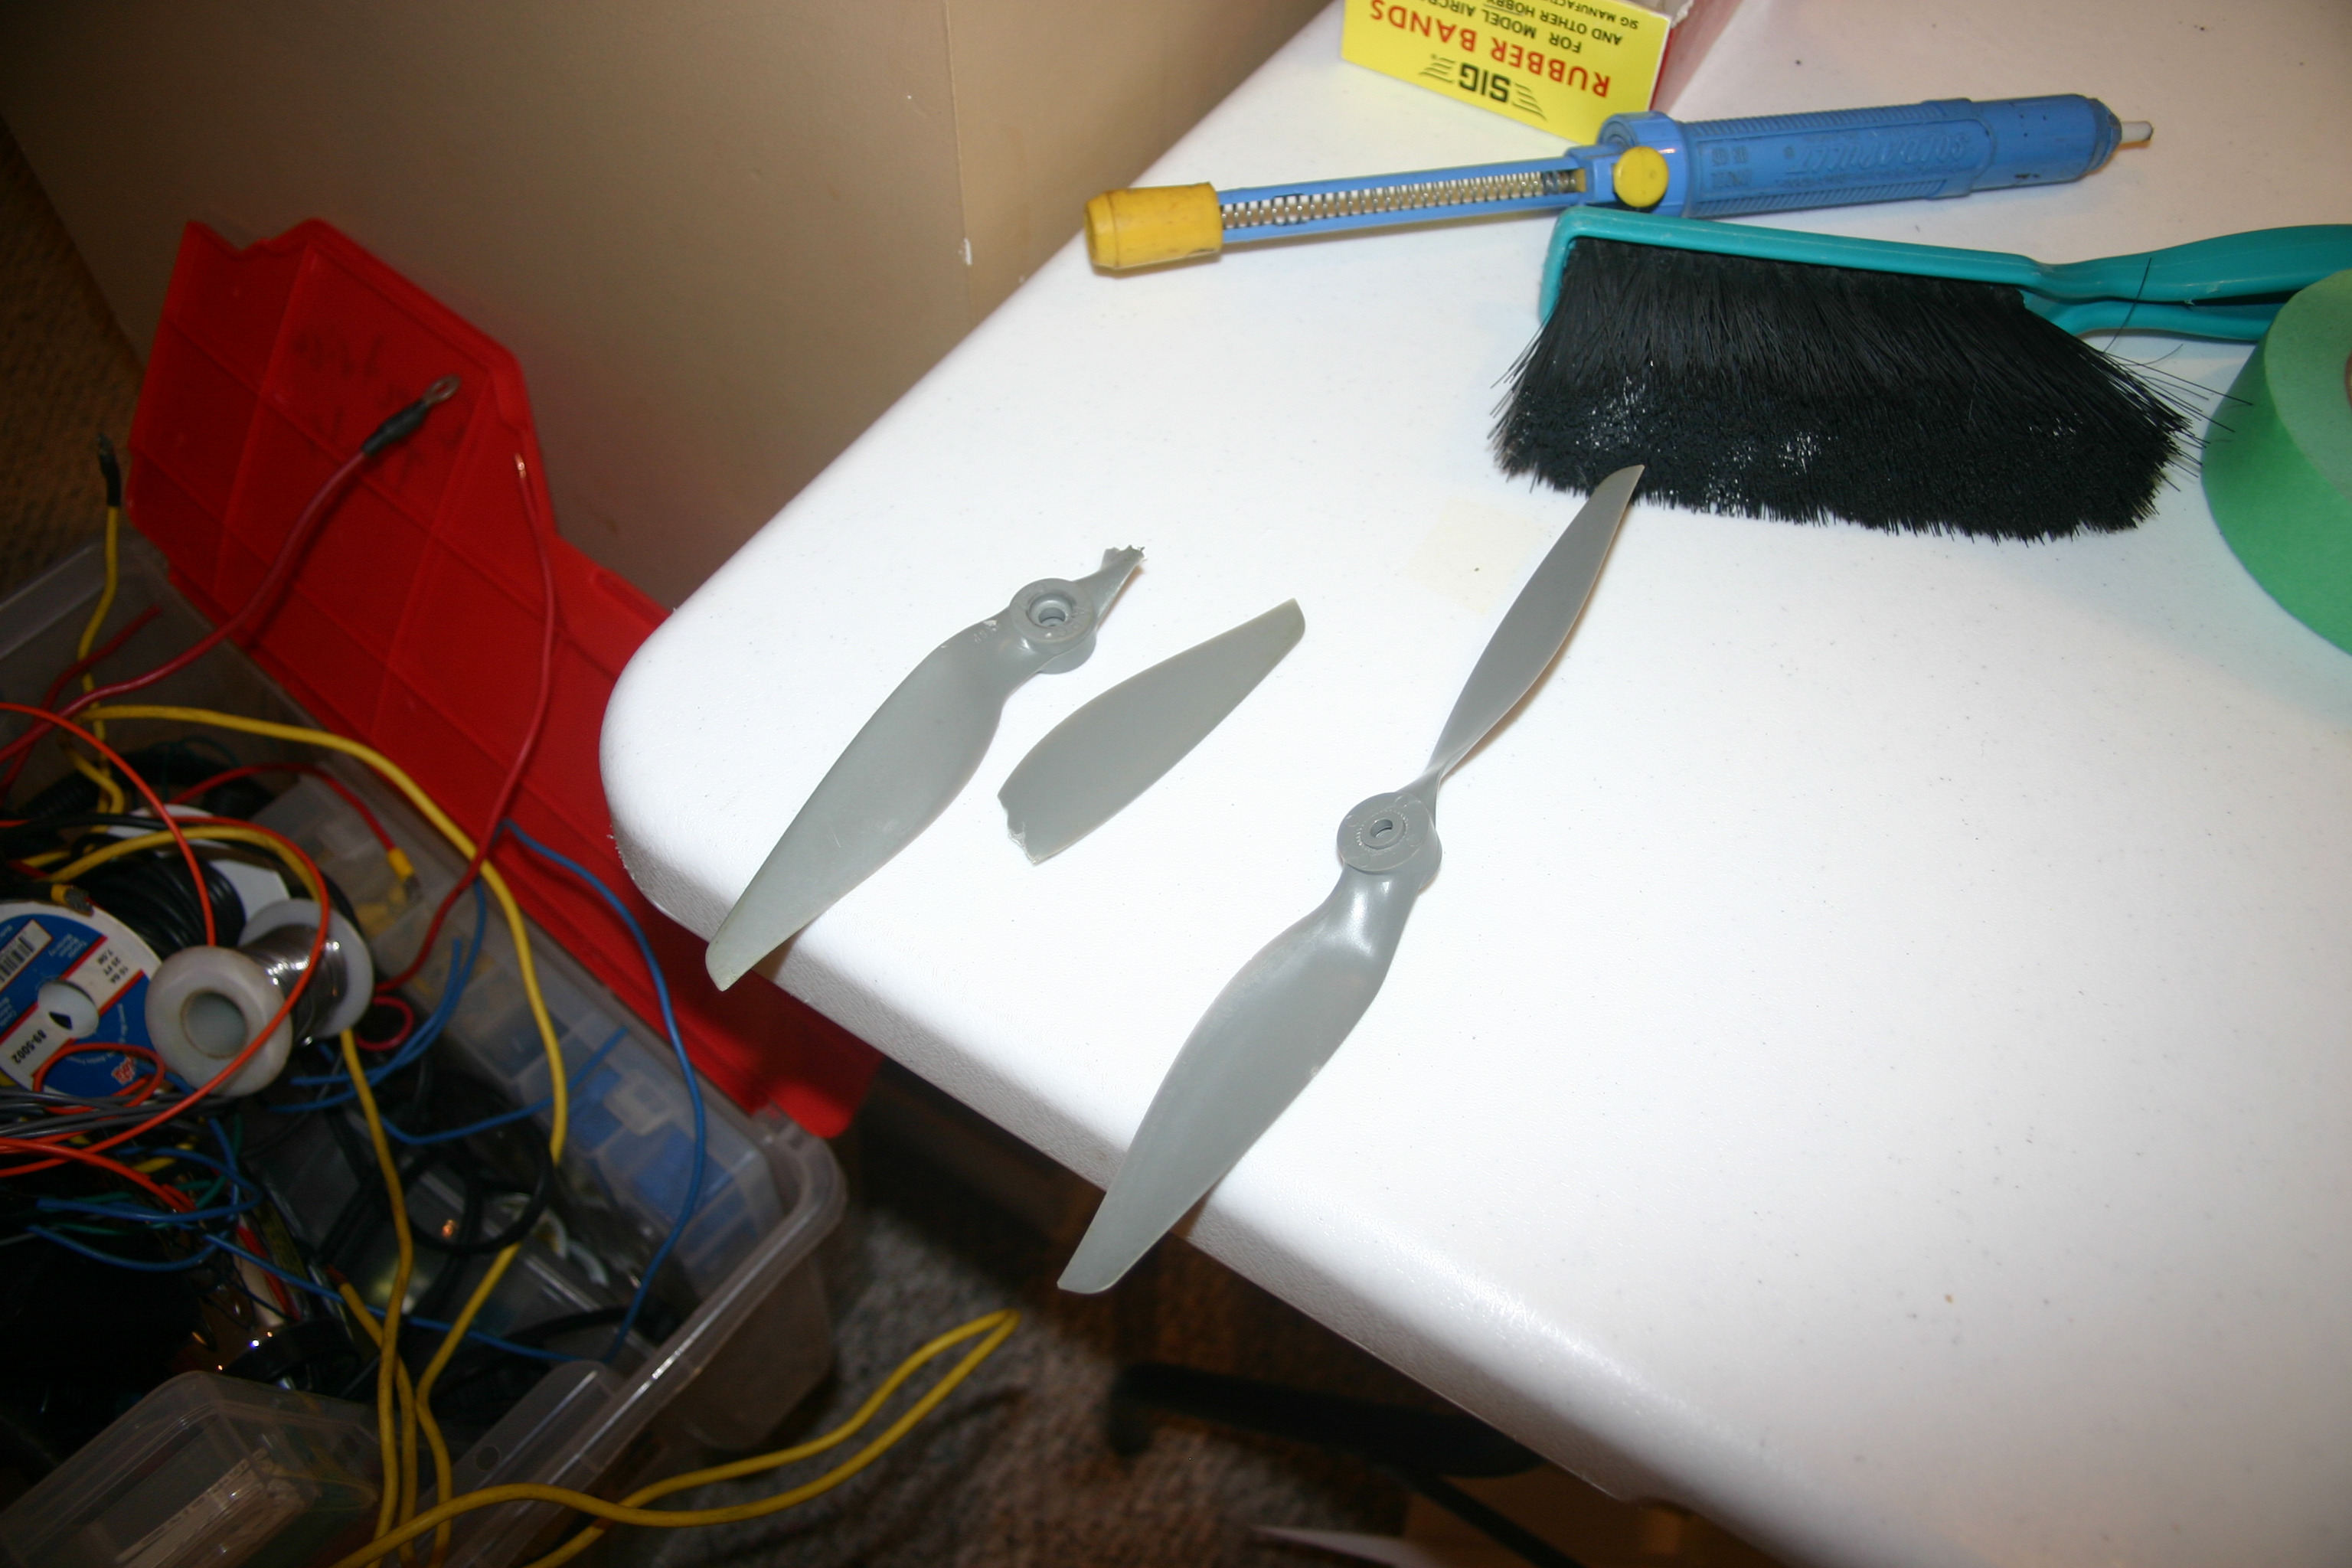
Motor #1 I can see a slight bend in the shaft.

More testing to be done. I’ll have to order replacements.

Broken tail. Poor YC-14 looks so sad.

Parts removed. GoPro was fine, engine pods good. One motor did release from the pod.

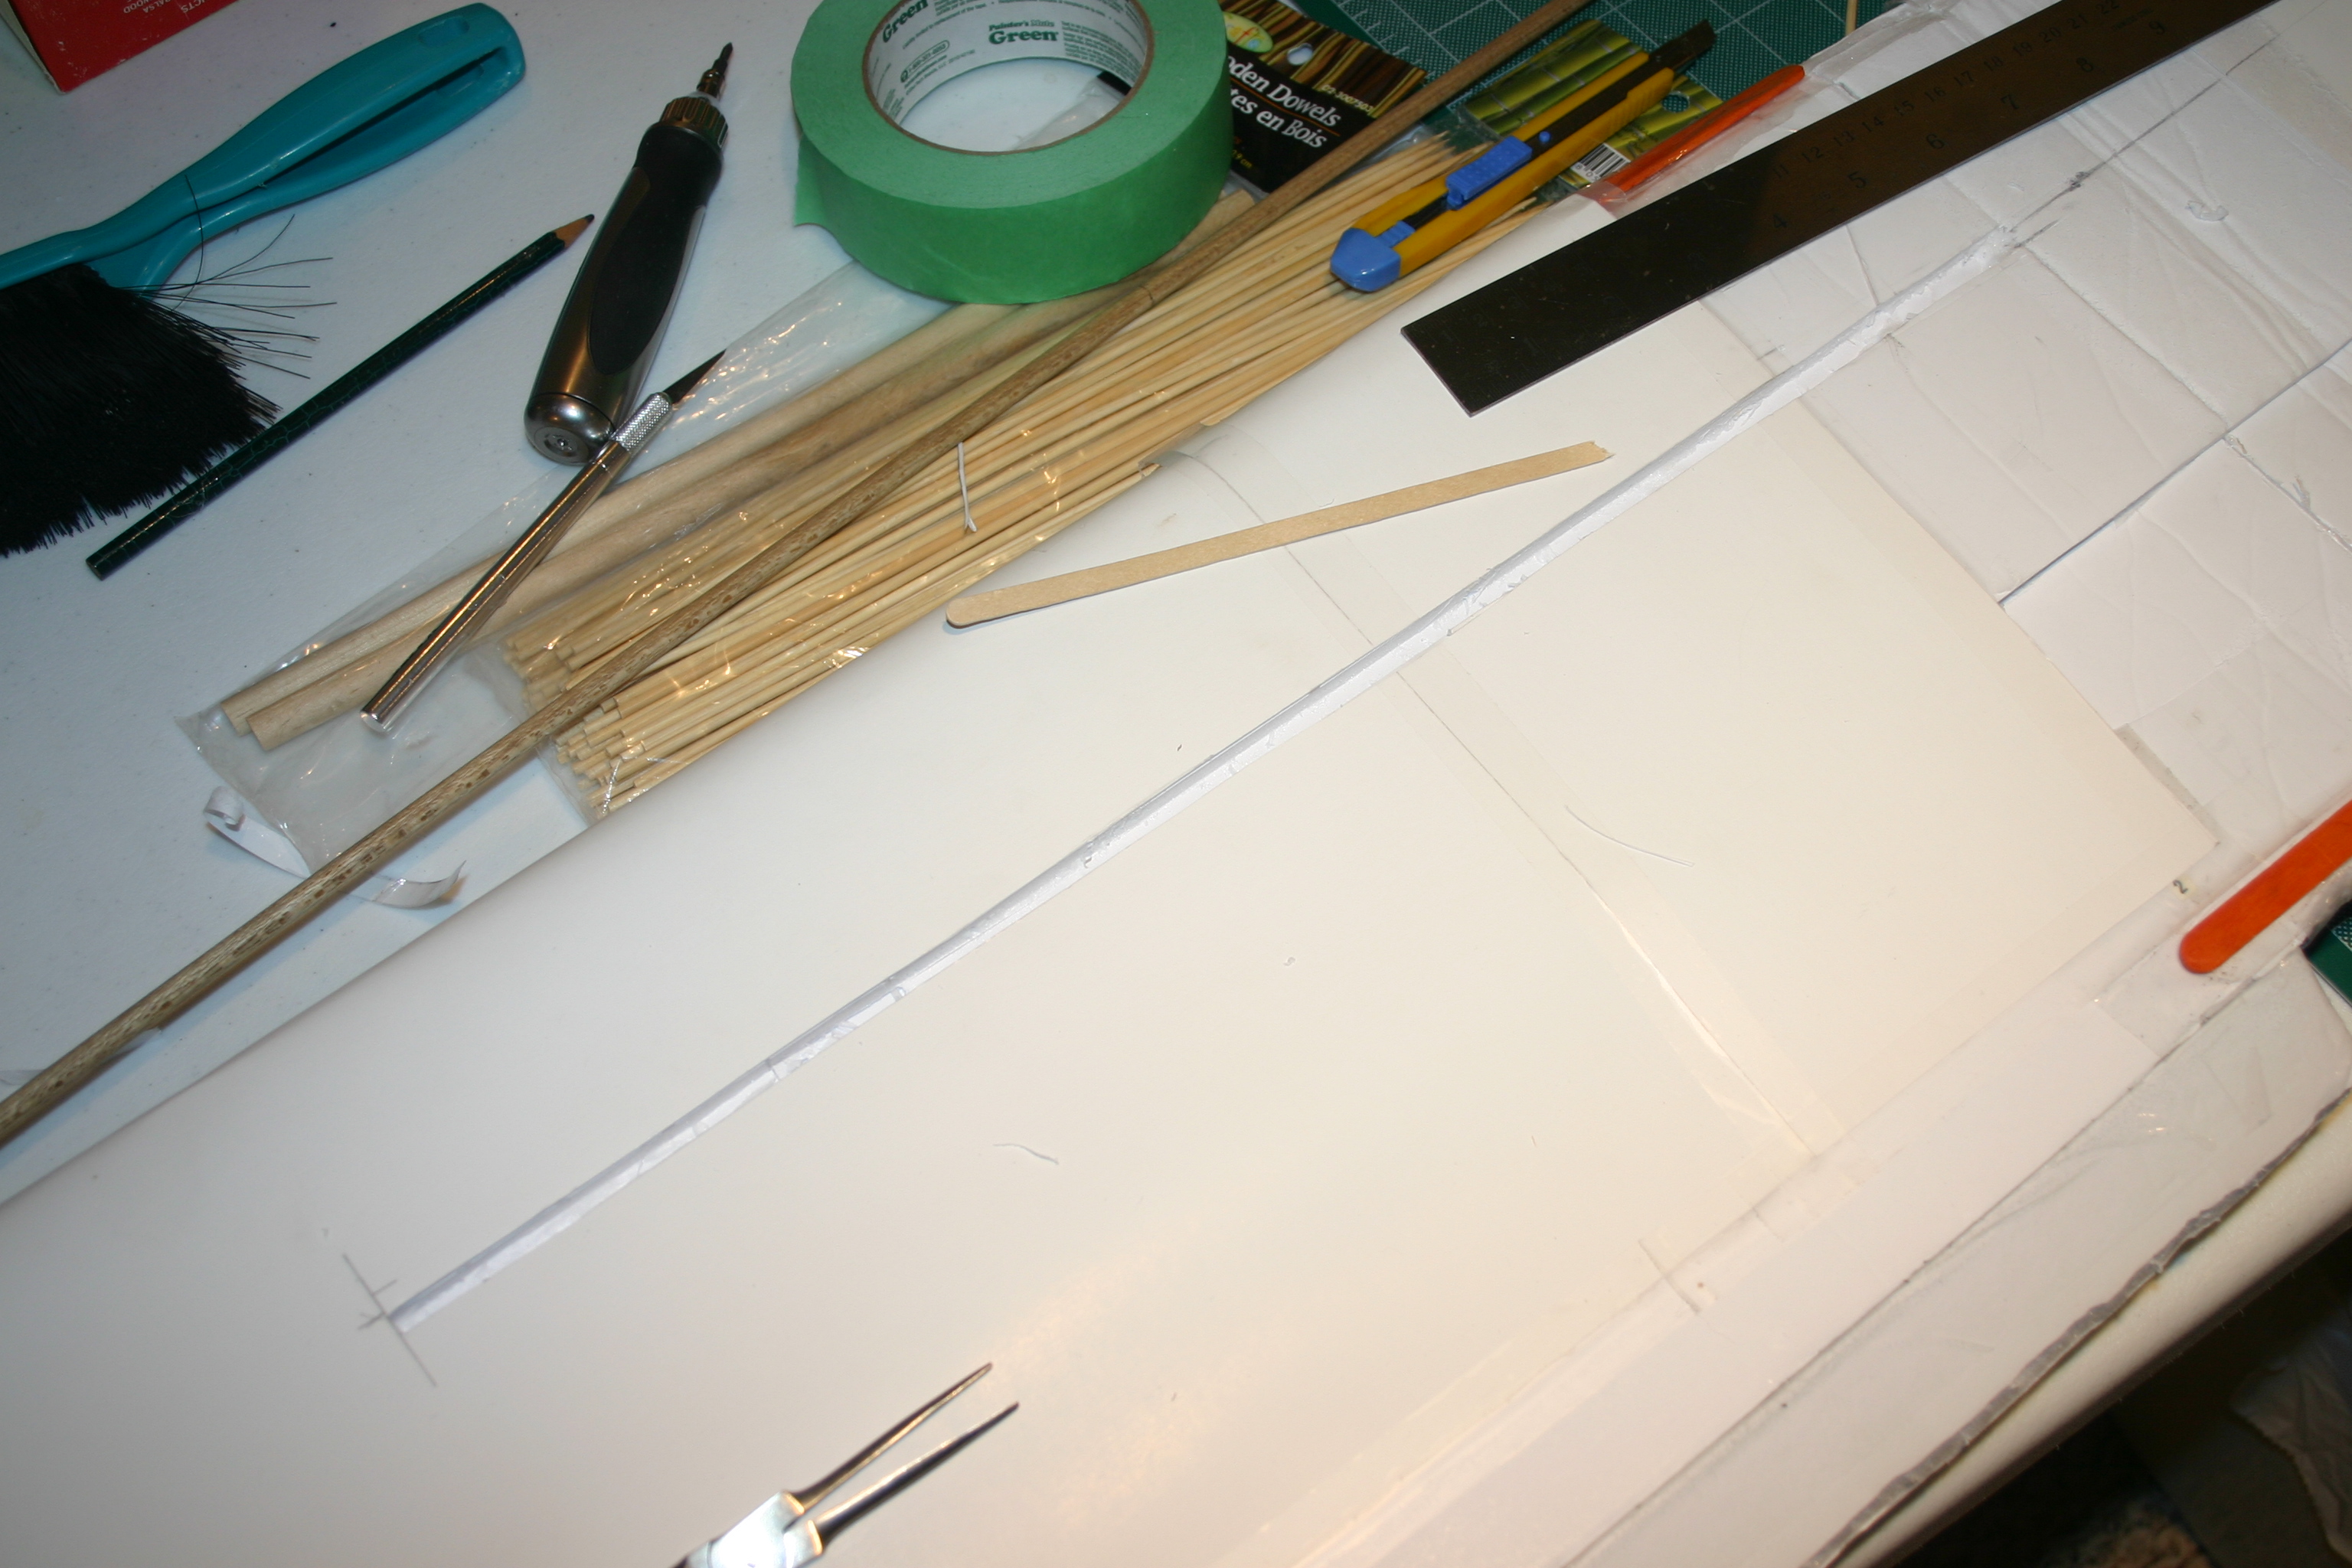
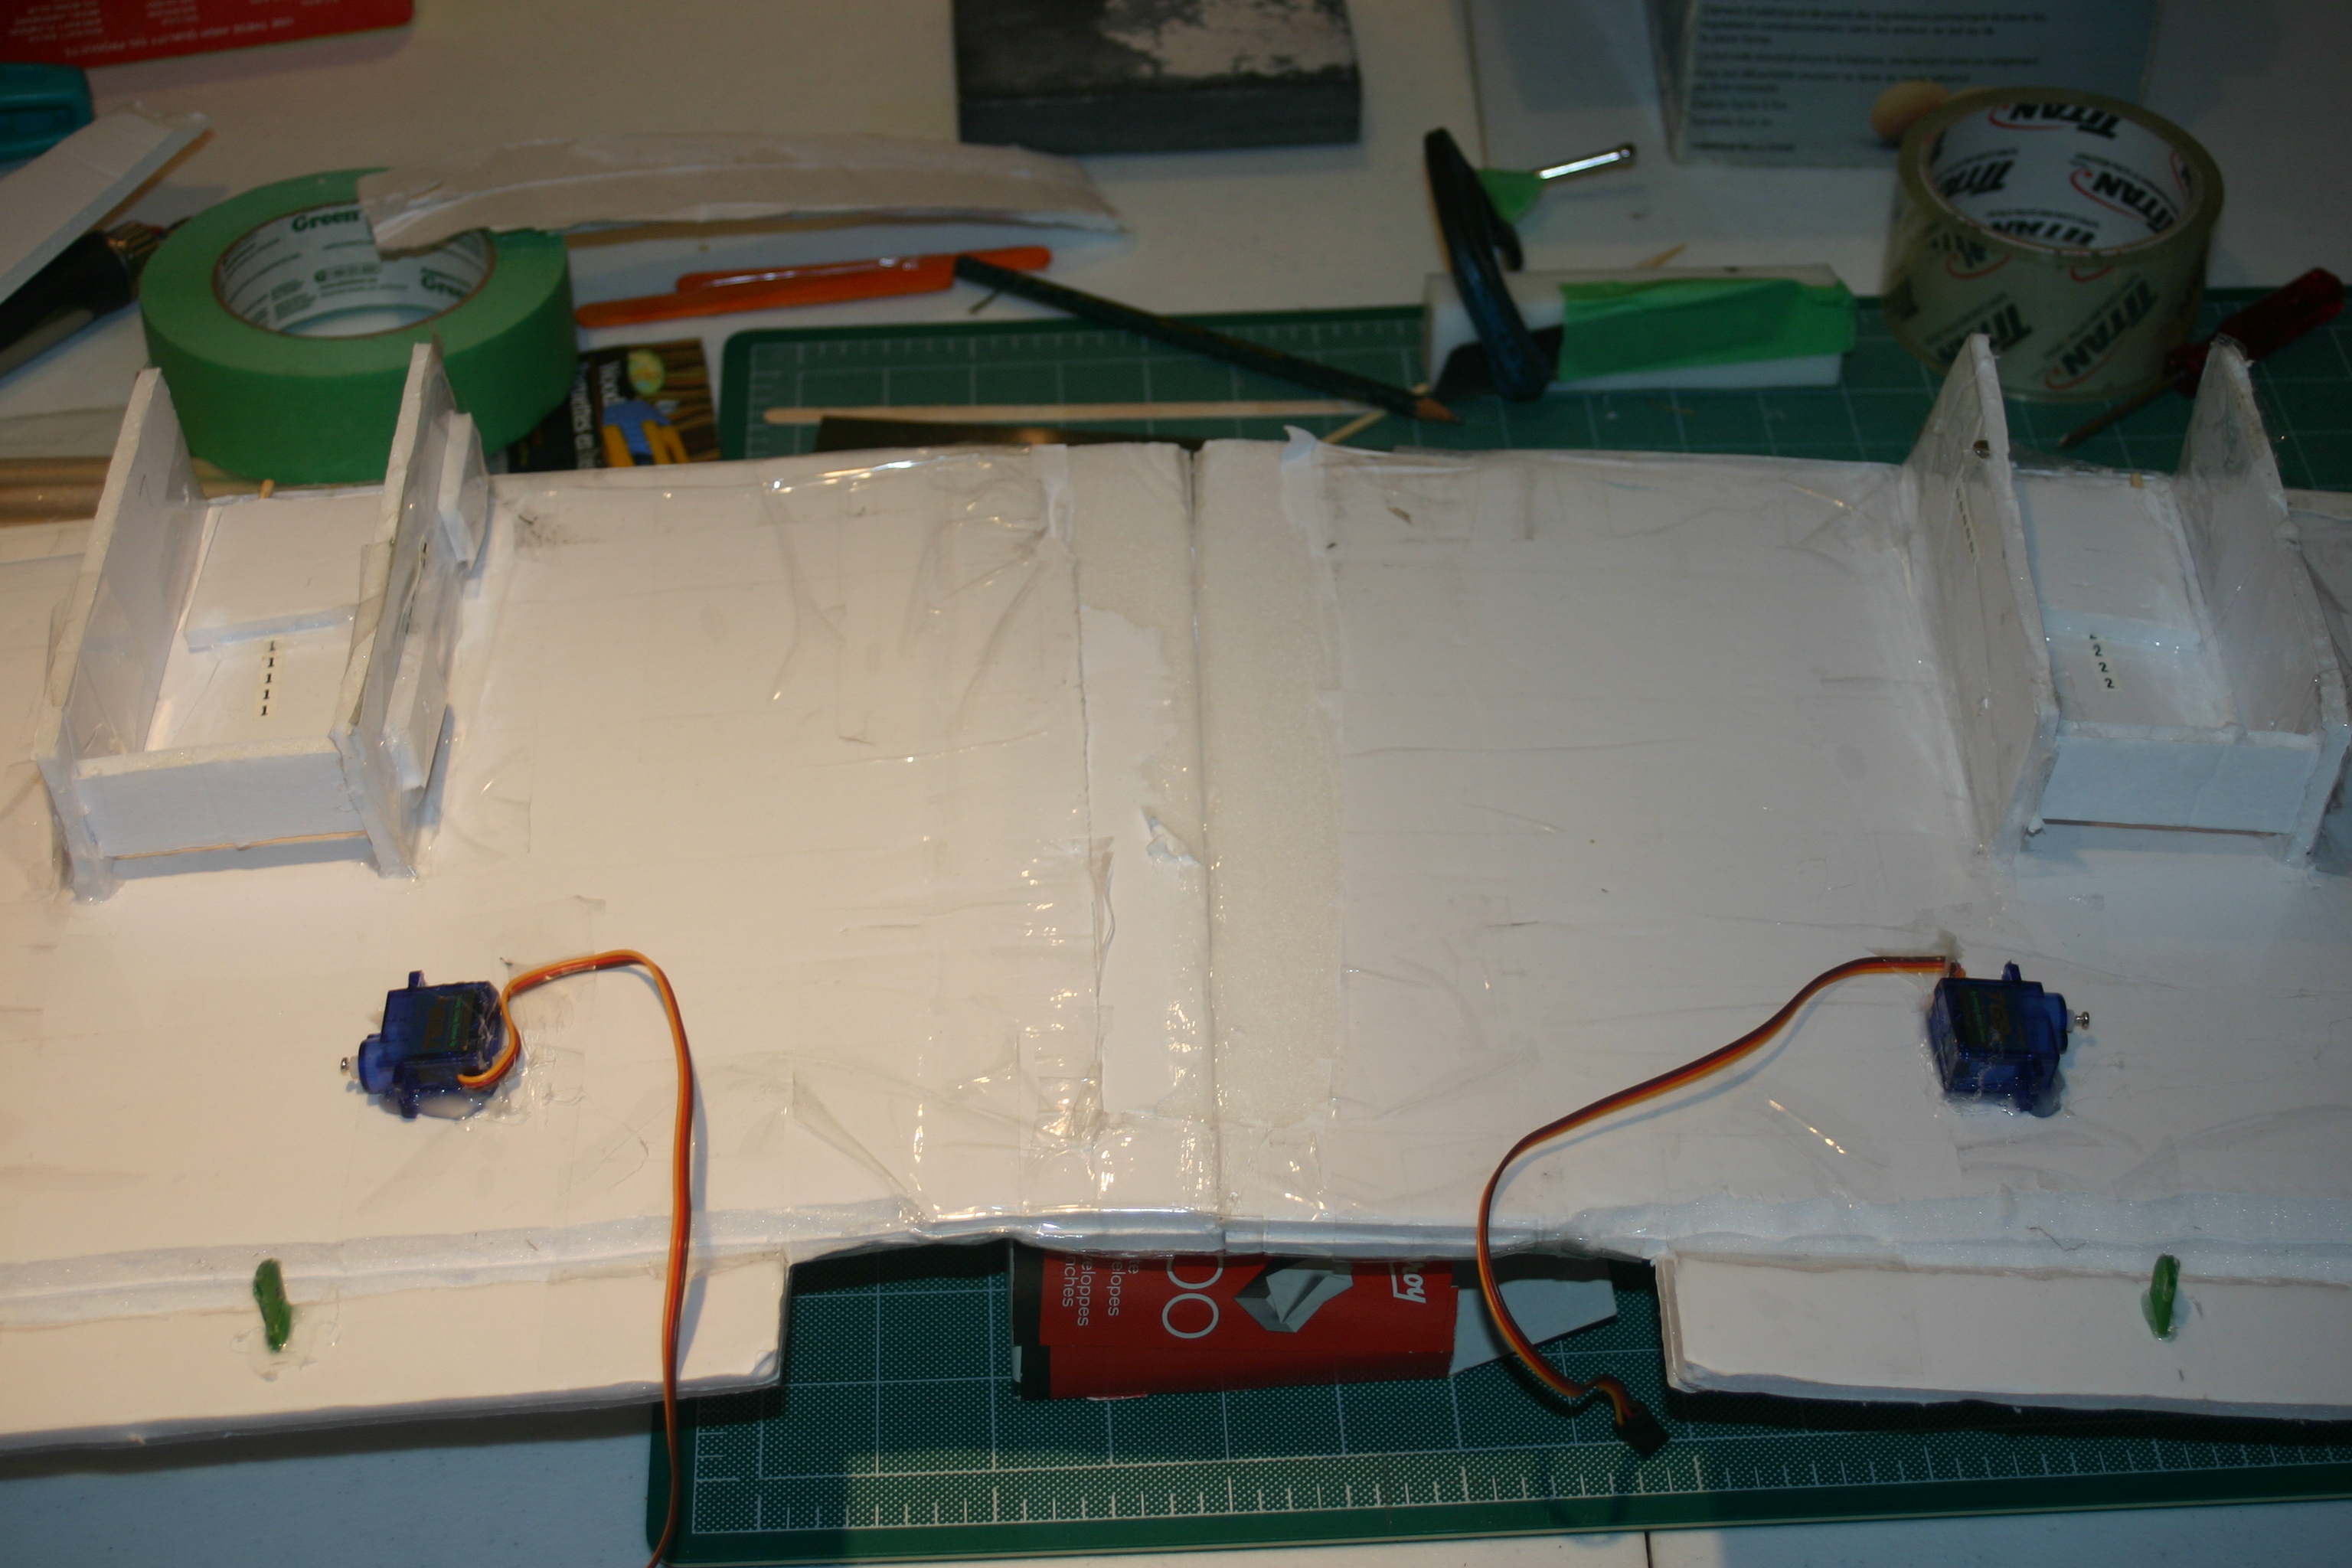
With the wing stripped down time to start the repairs.

I opted to use a 1/4″ x 36″ wooden dowel. Just had it handy.

A little tip I picked up from FliteTest!

Using the blade set to height I was able score a channel for the rod.
Gluing in the rod and setting some wing dihedral.

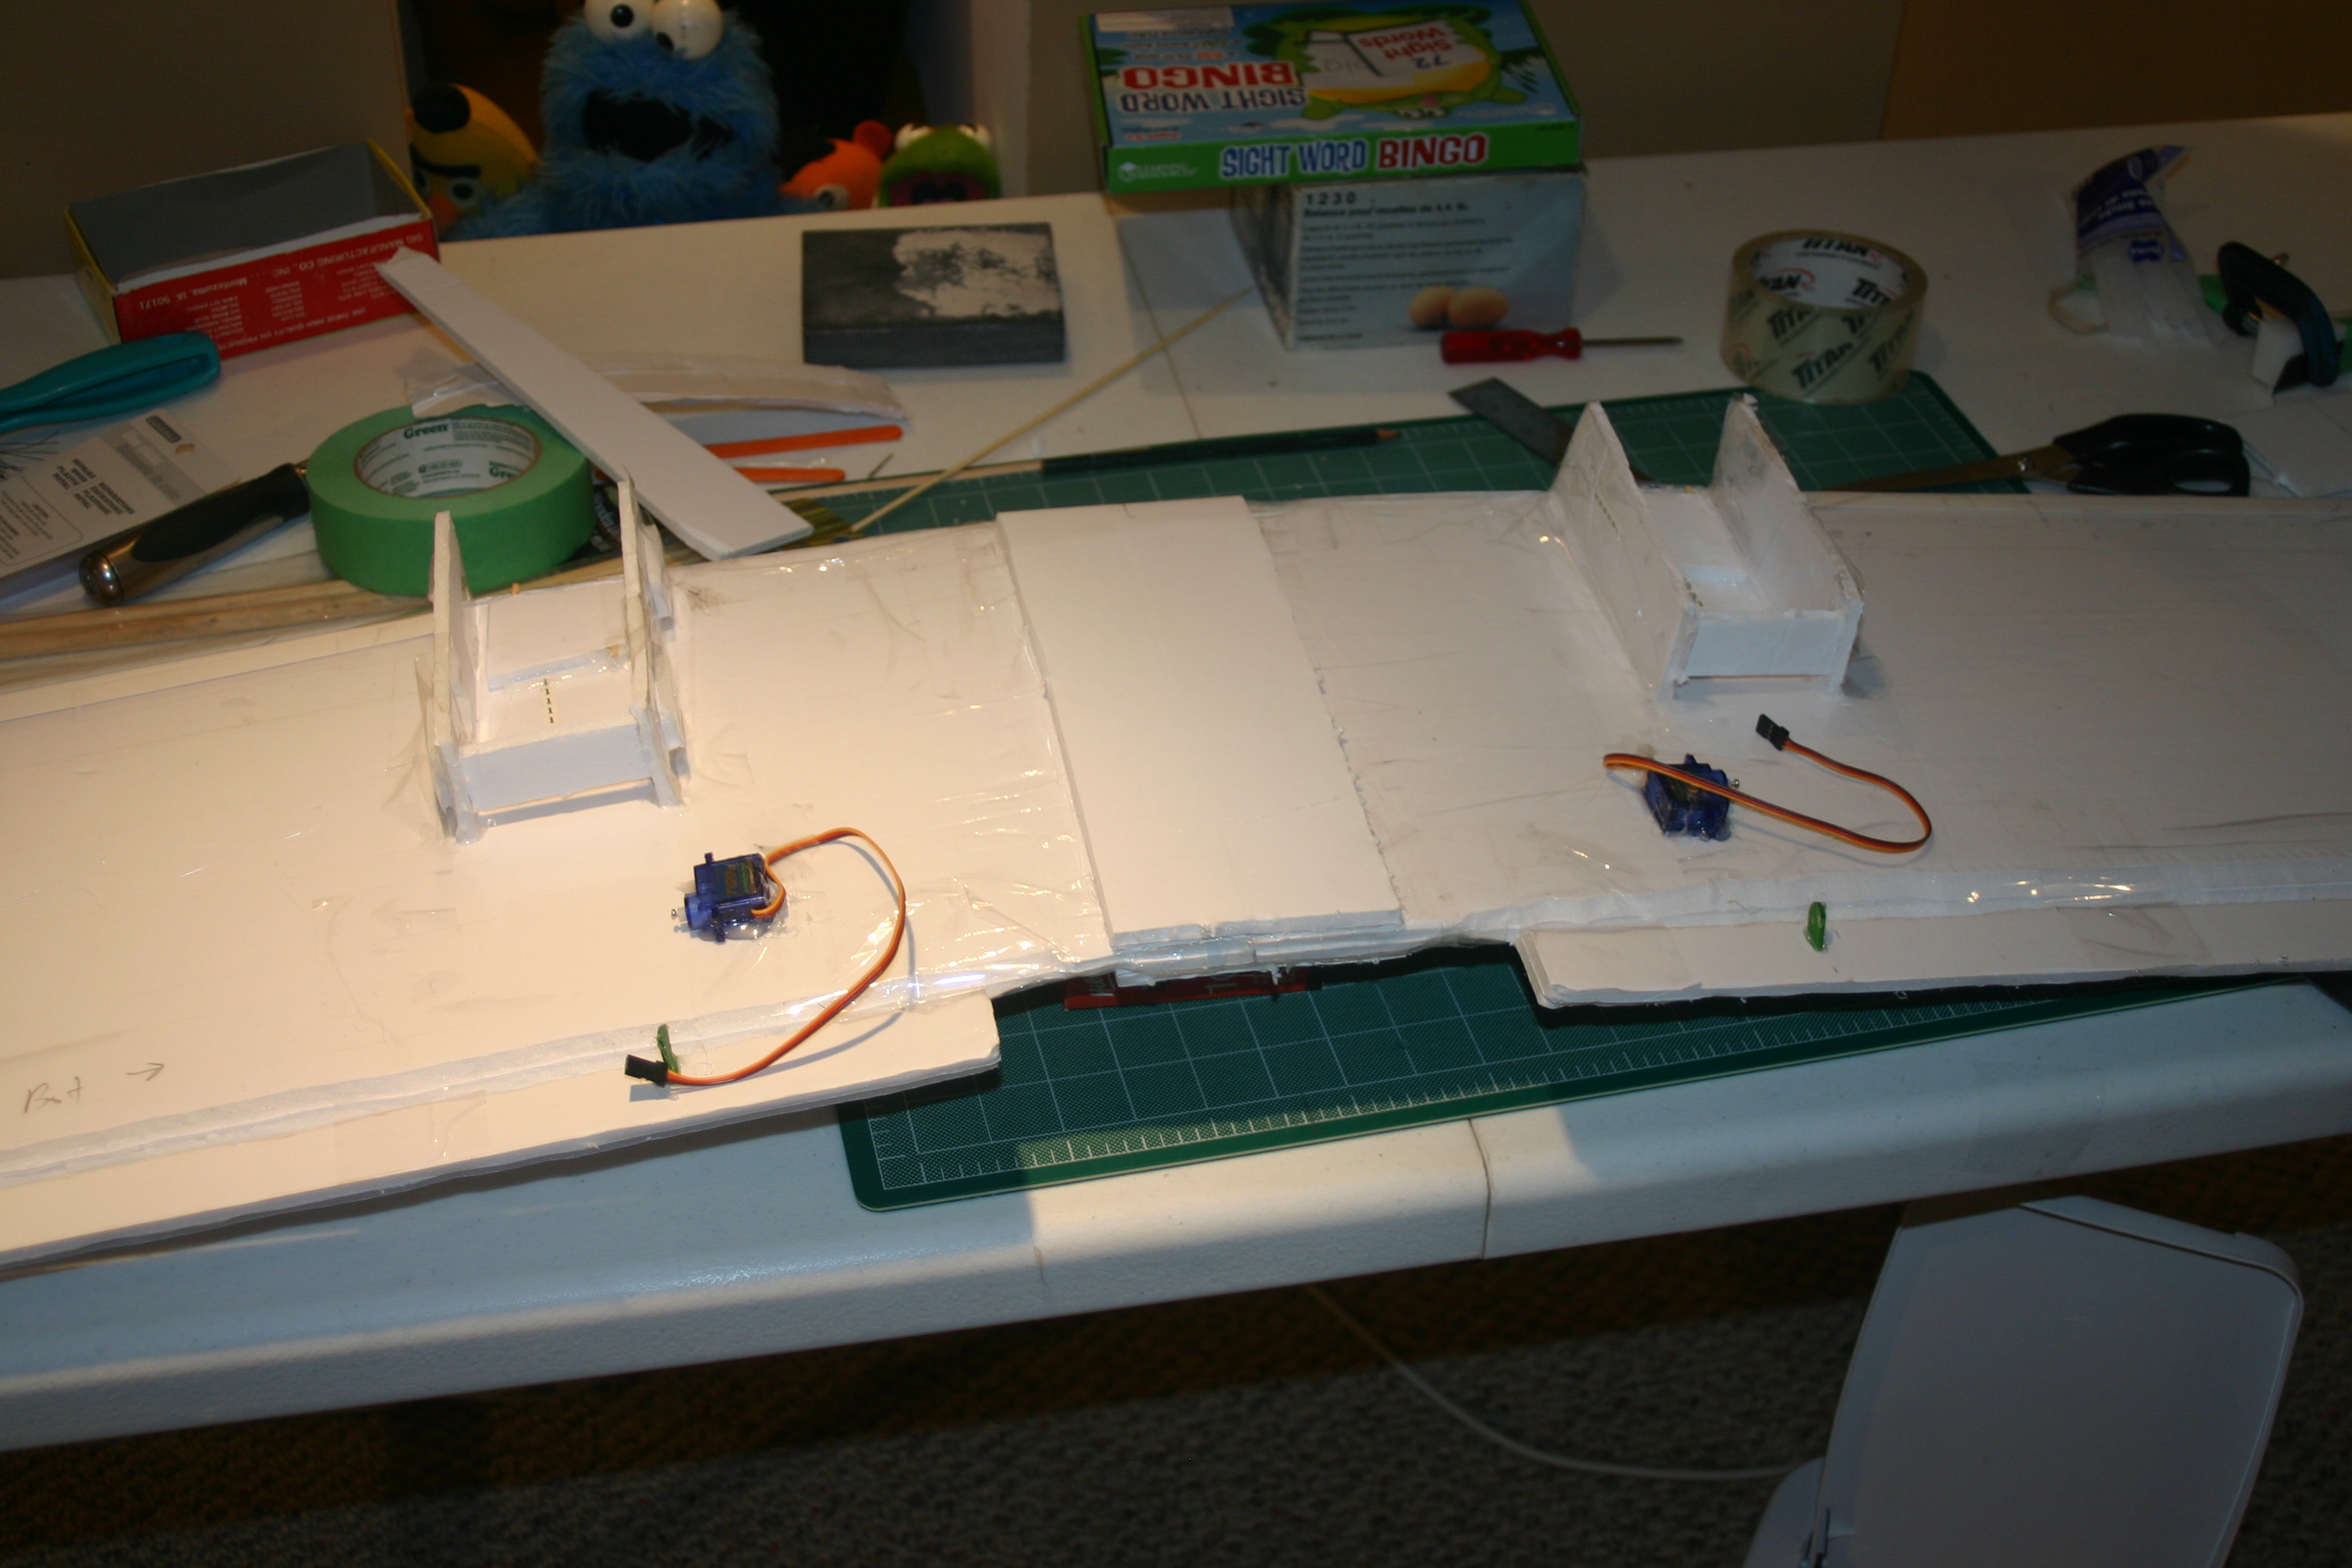
A lot stronger now for sure.
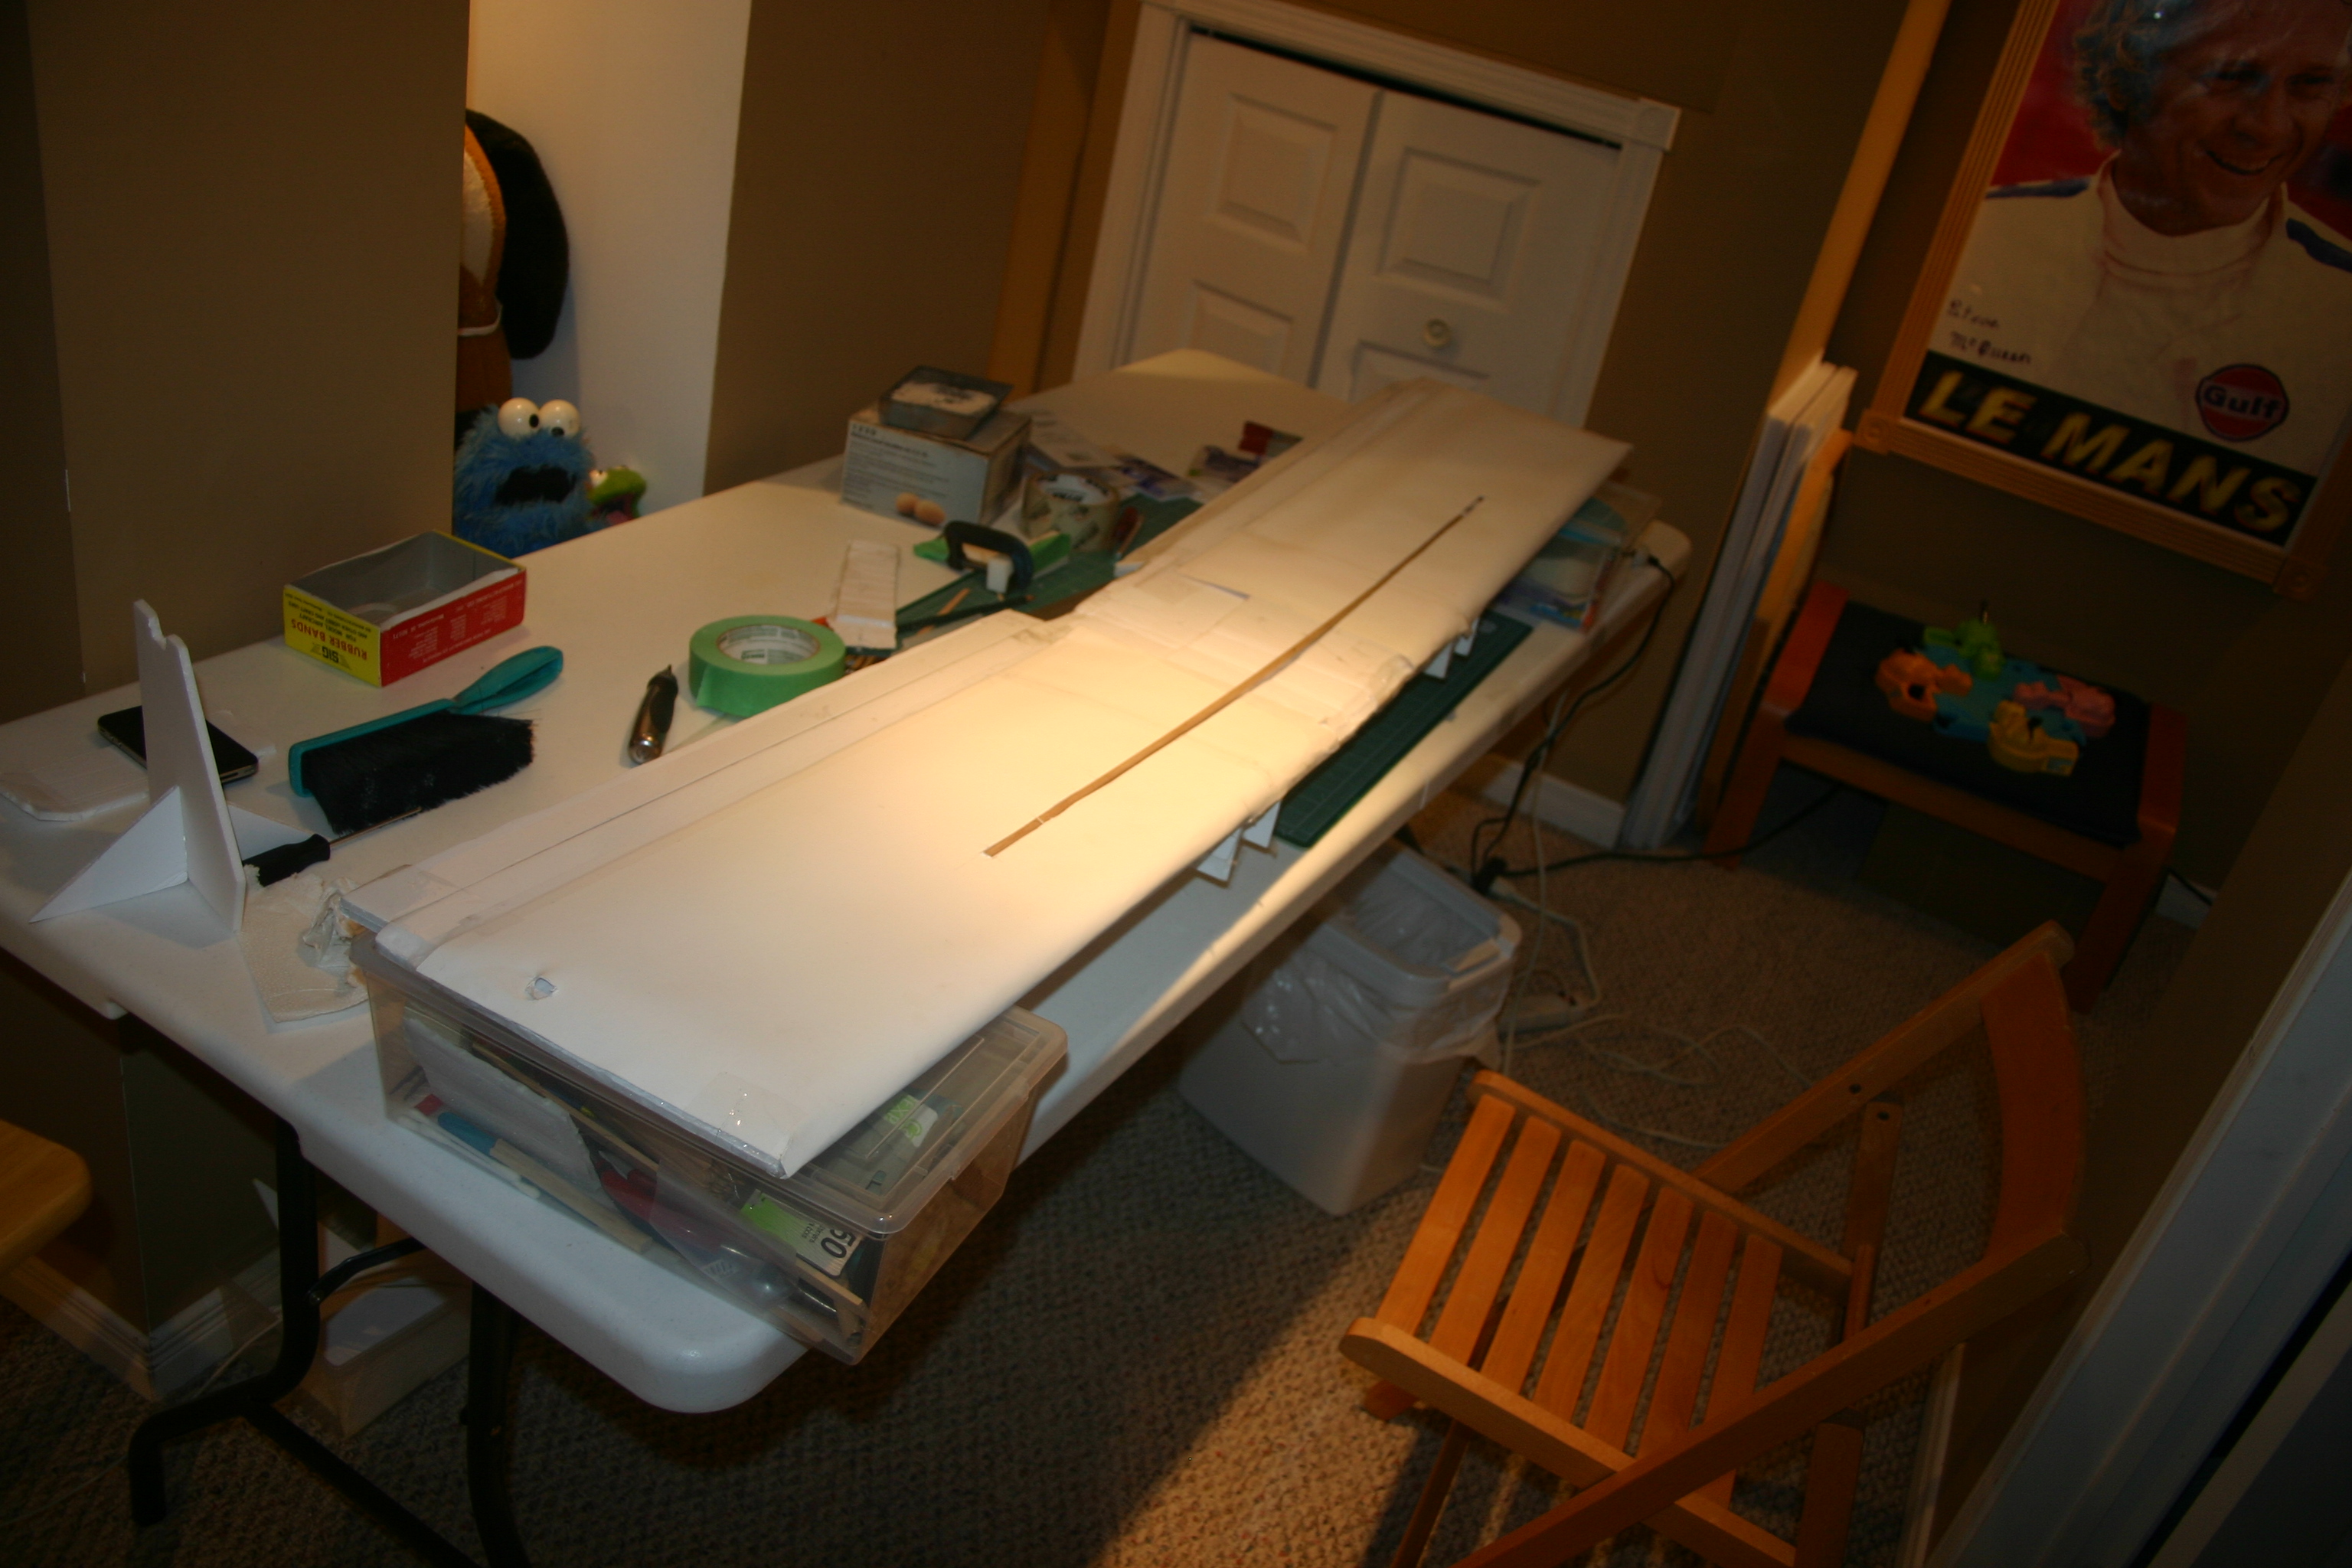
The underside received a good dose of glue and tape.
Weighing it down while I setup the wing dihedral.
Repair section.

The sleeve will help locate the wing and protect the repairs.

There we go.
The pods did take a bit of load and elongated the wholes. I added extra foam but plastic would have been better.

Resetting all the gear.

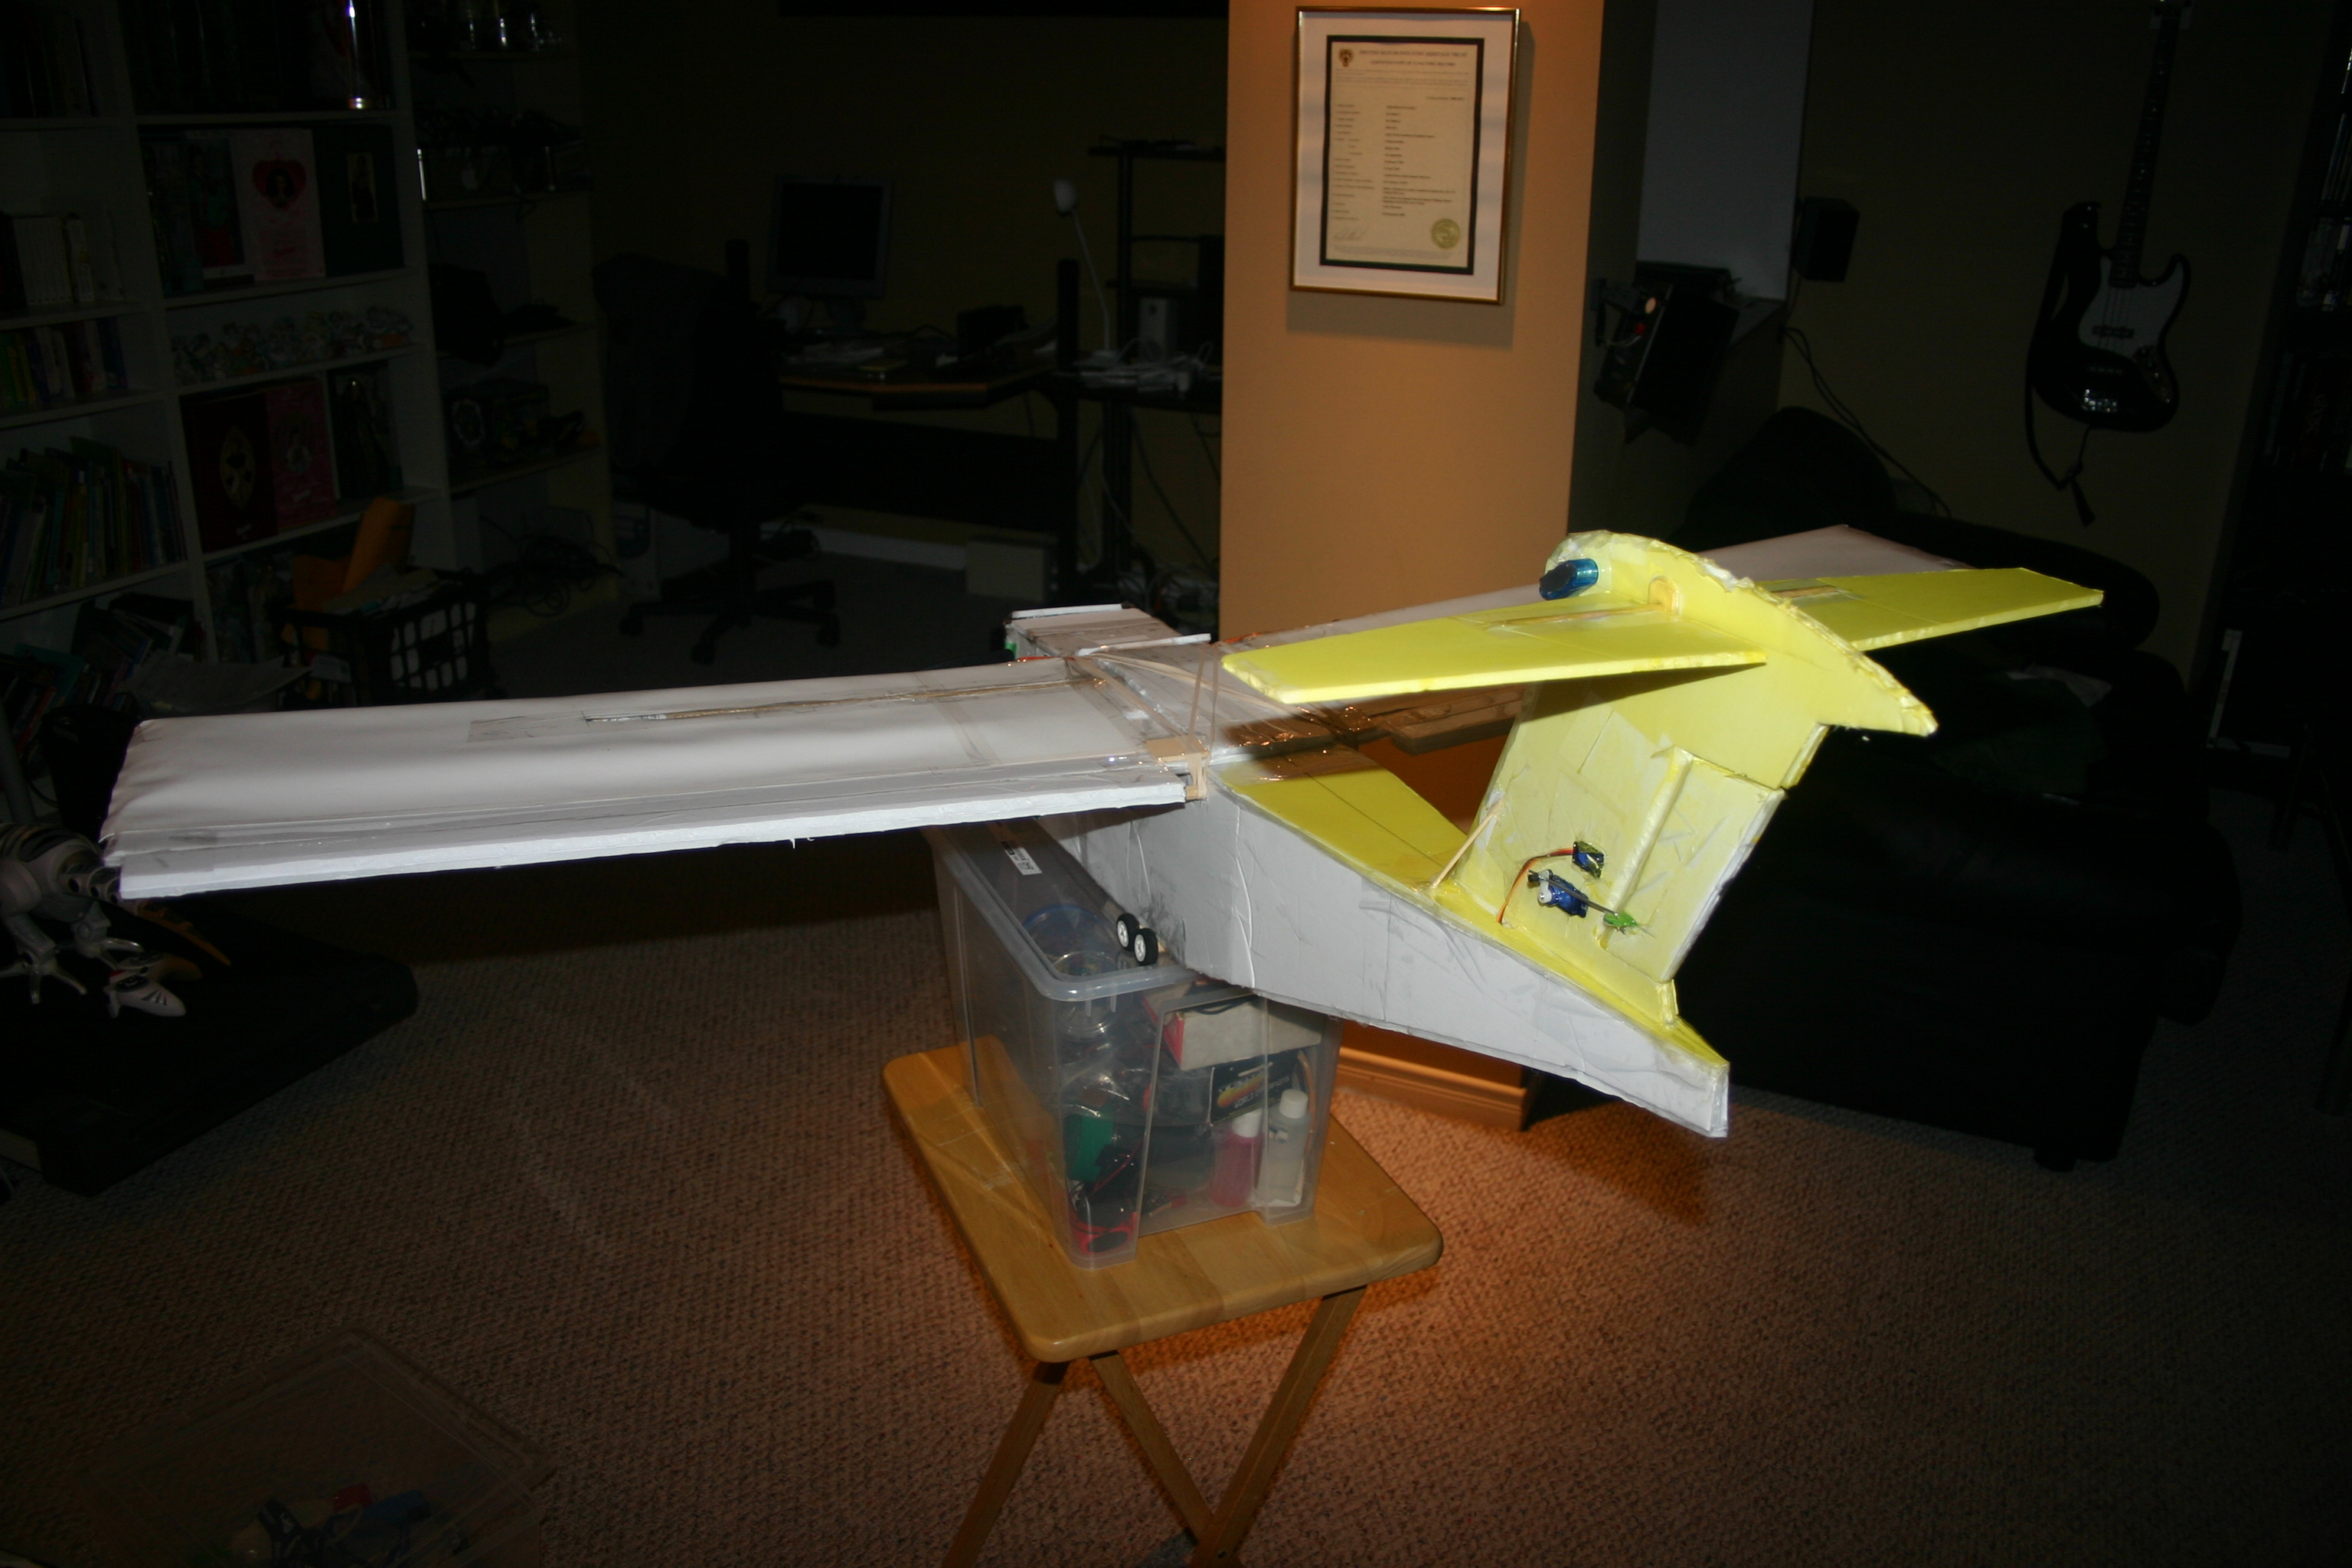
Tail back on. I cut in and added some posts to the tail to help secure it.

Rudder and elevator restored.
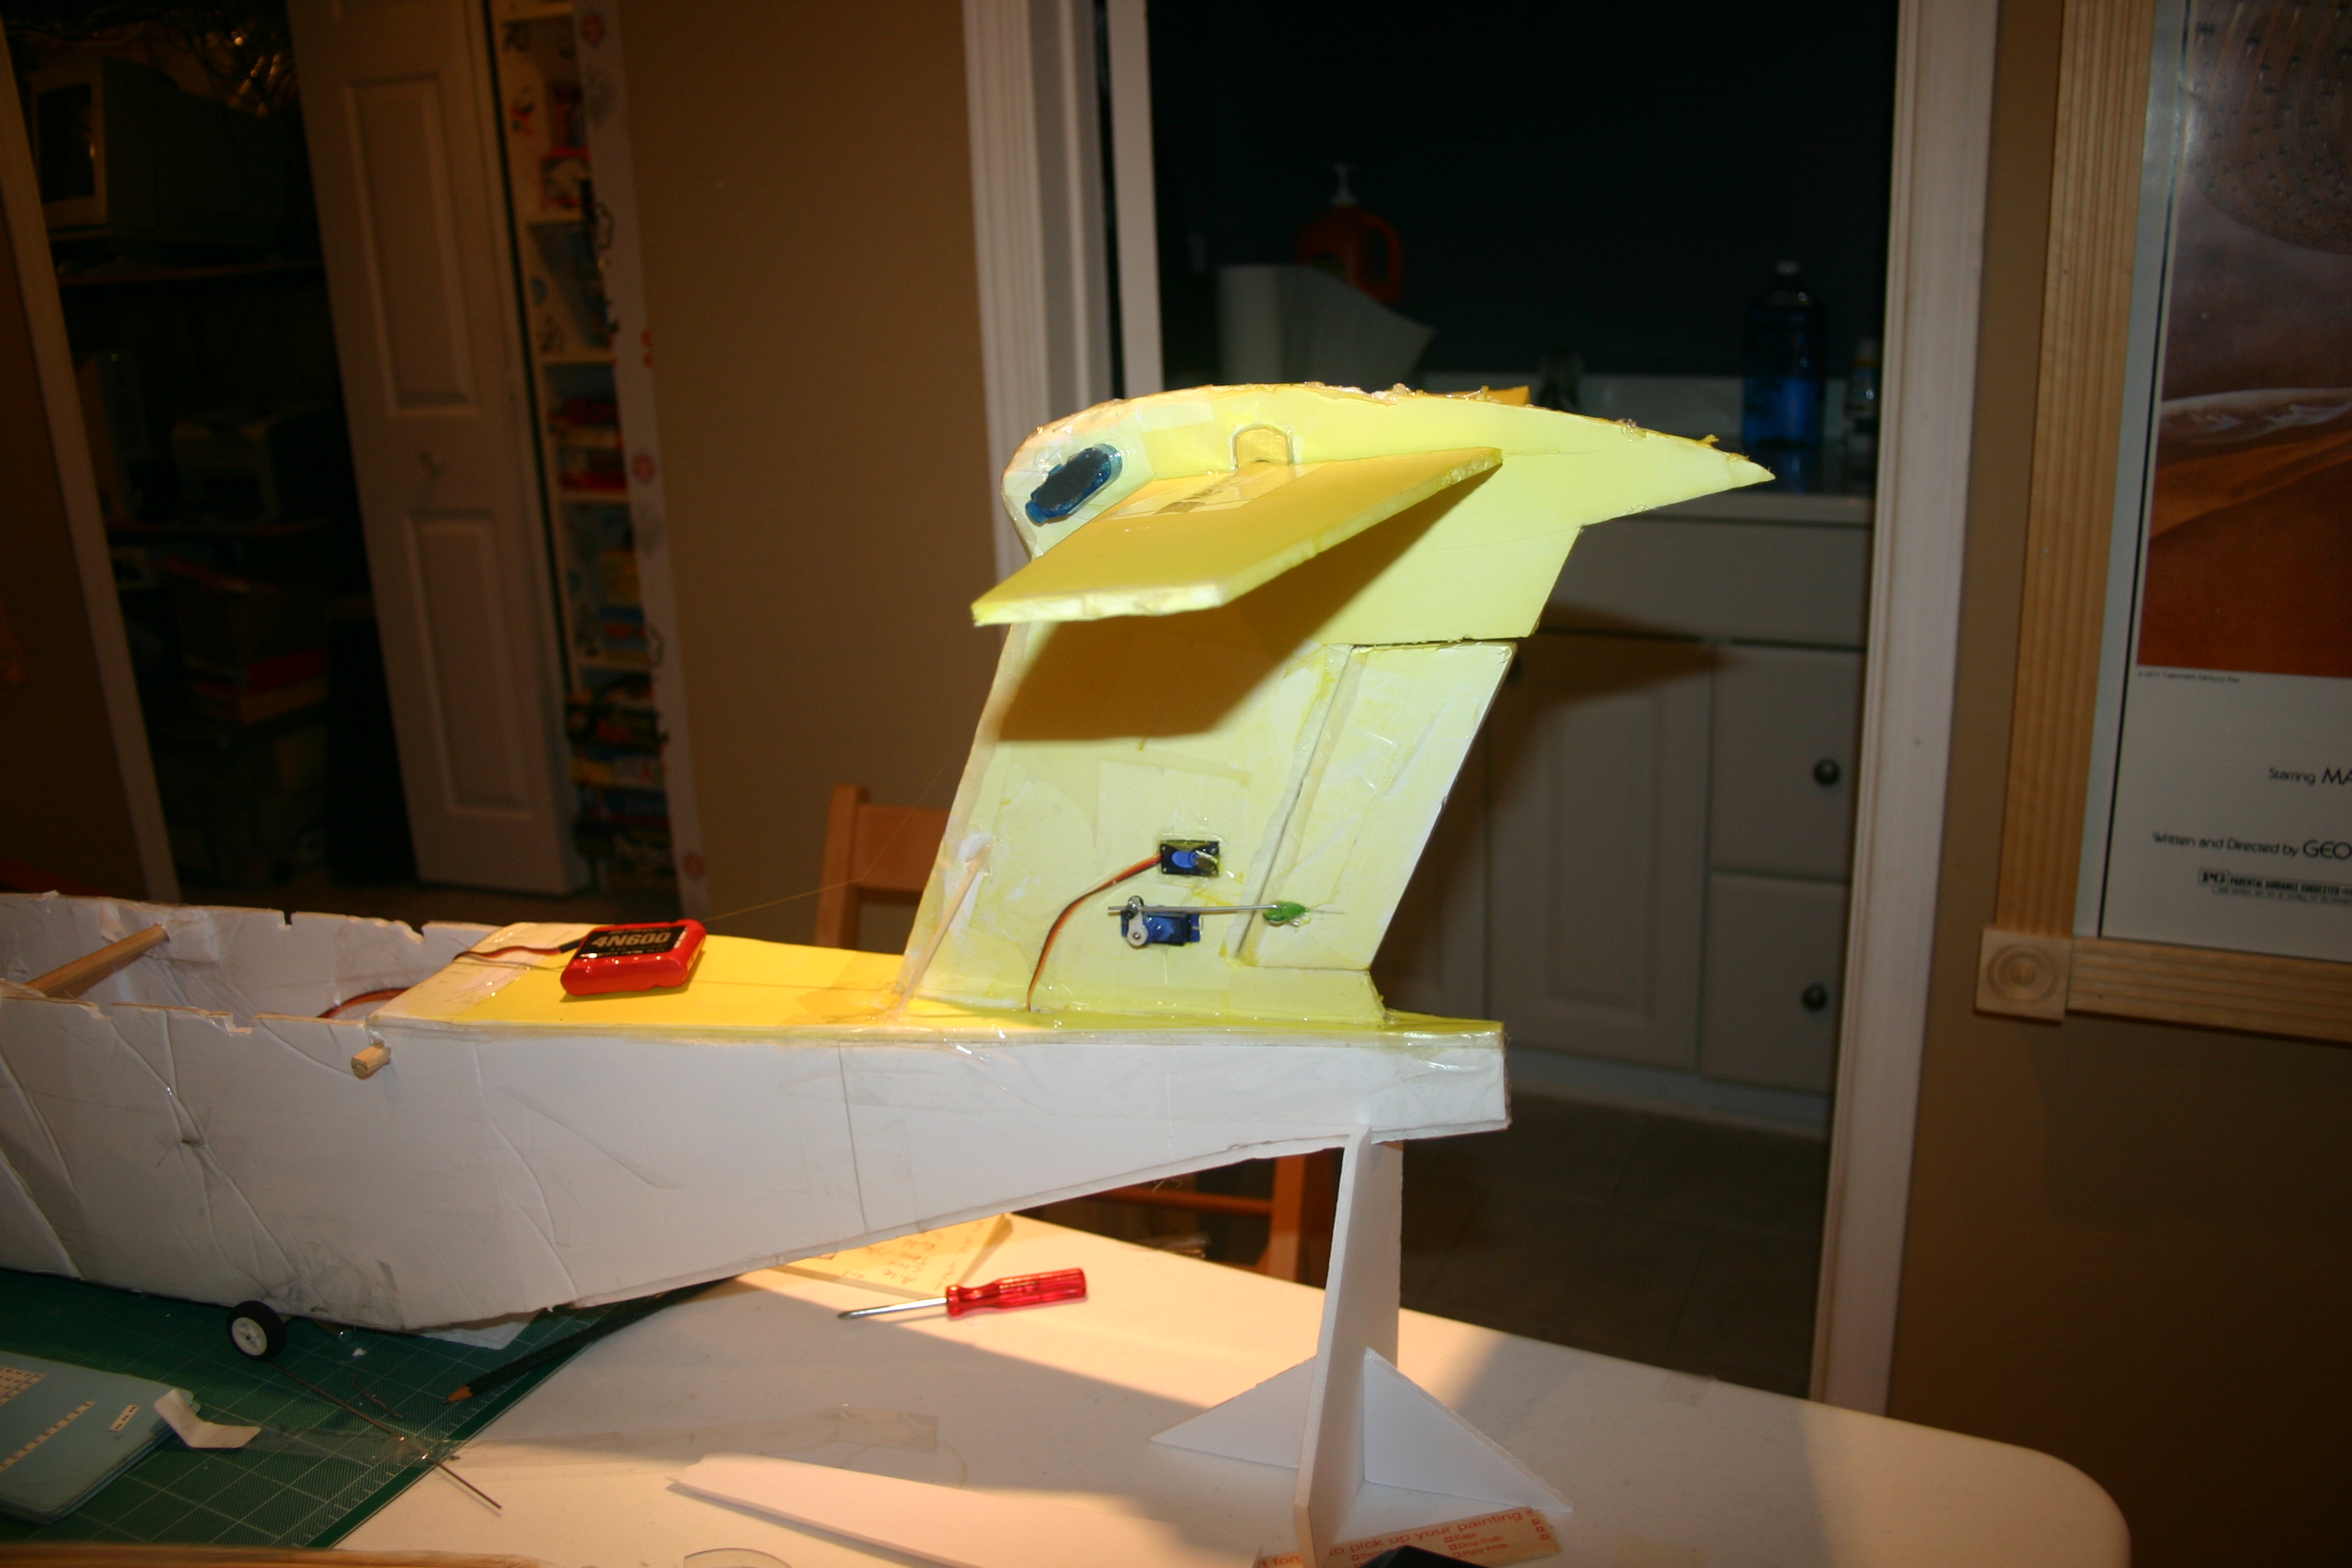
Now for air frame damage.

The forward wing mount took a huge hit. So I had to add more pieces to brace and reshape it.

The underside also required new glue and tape.
Coming together.

Wrinkled BUFF.

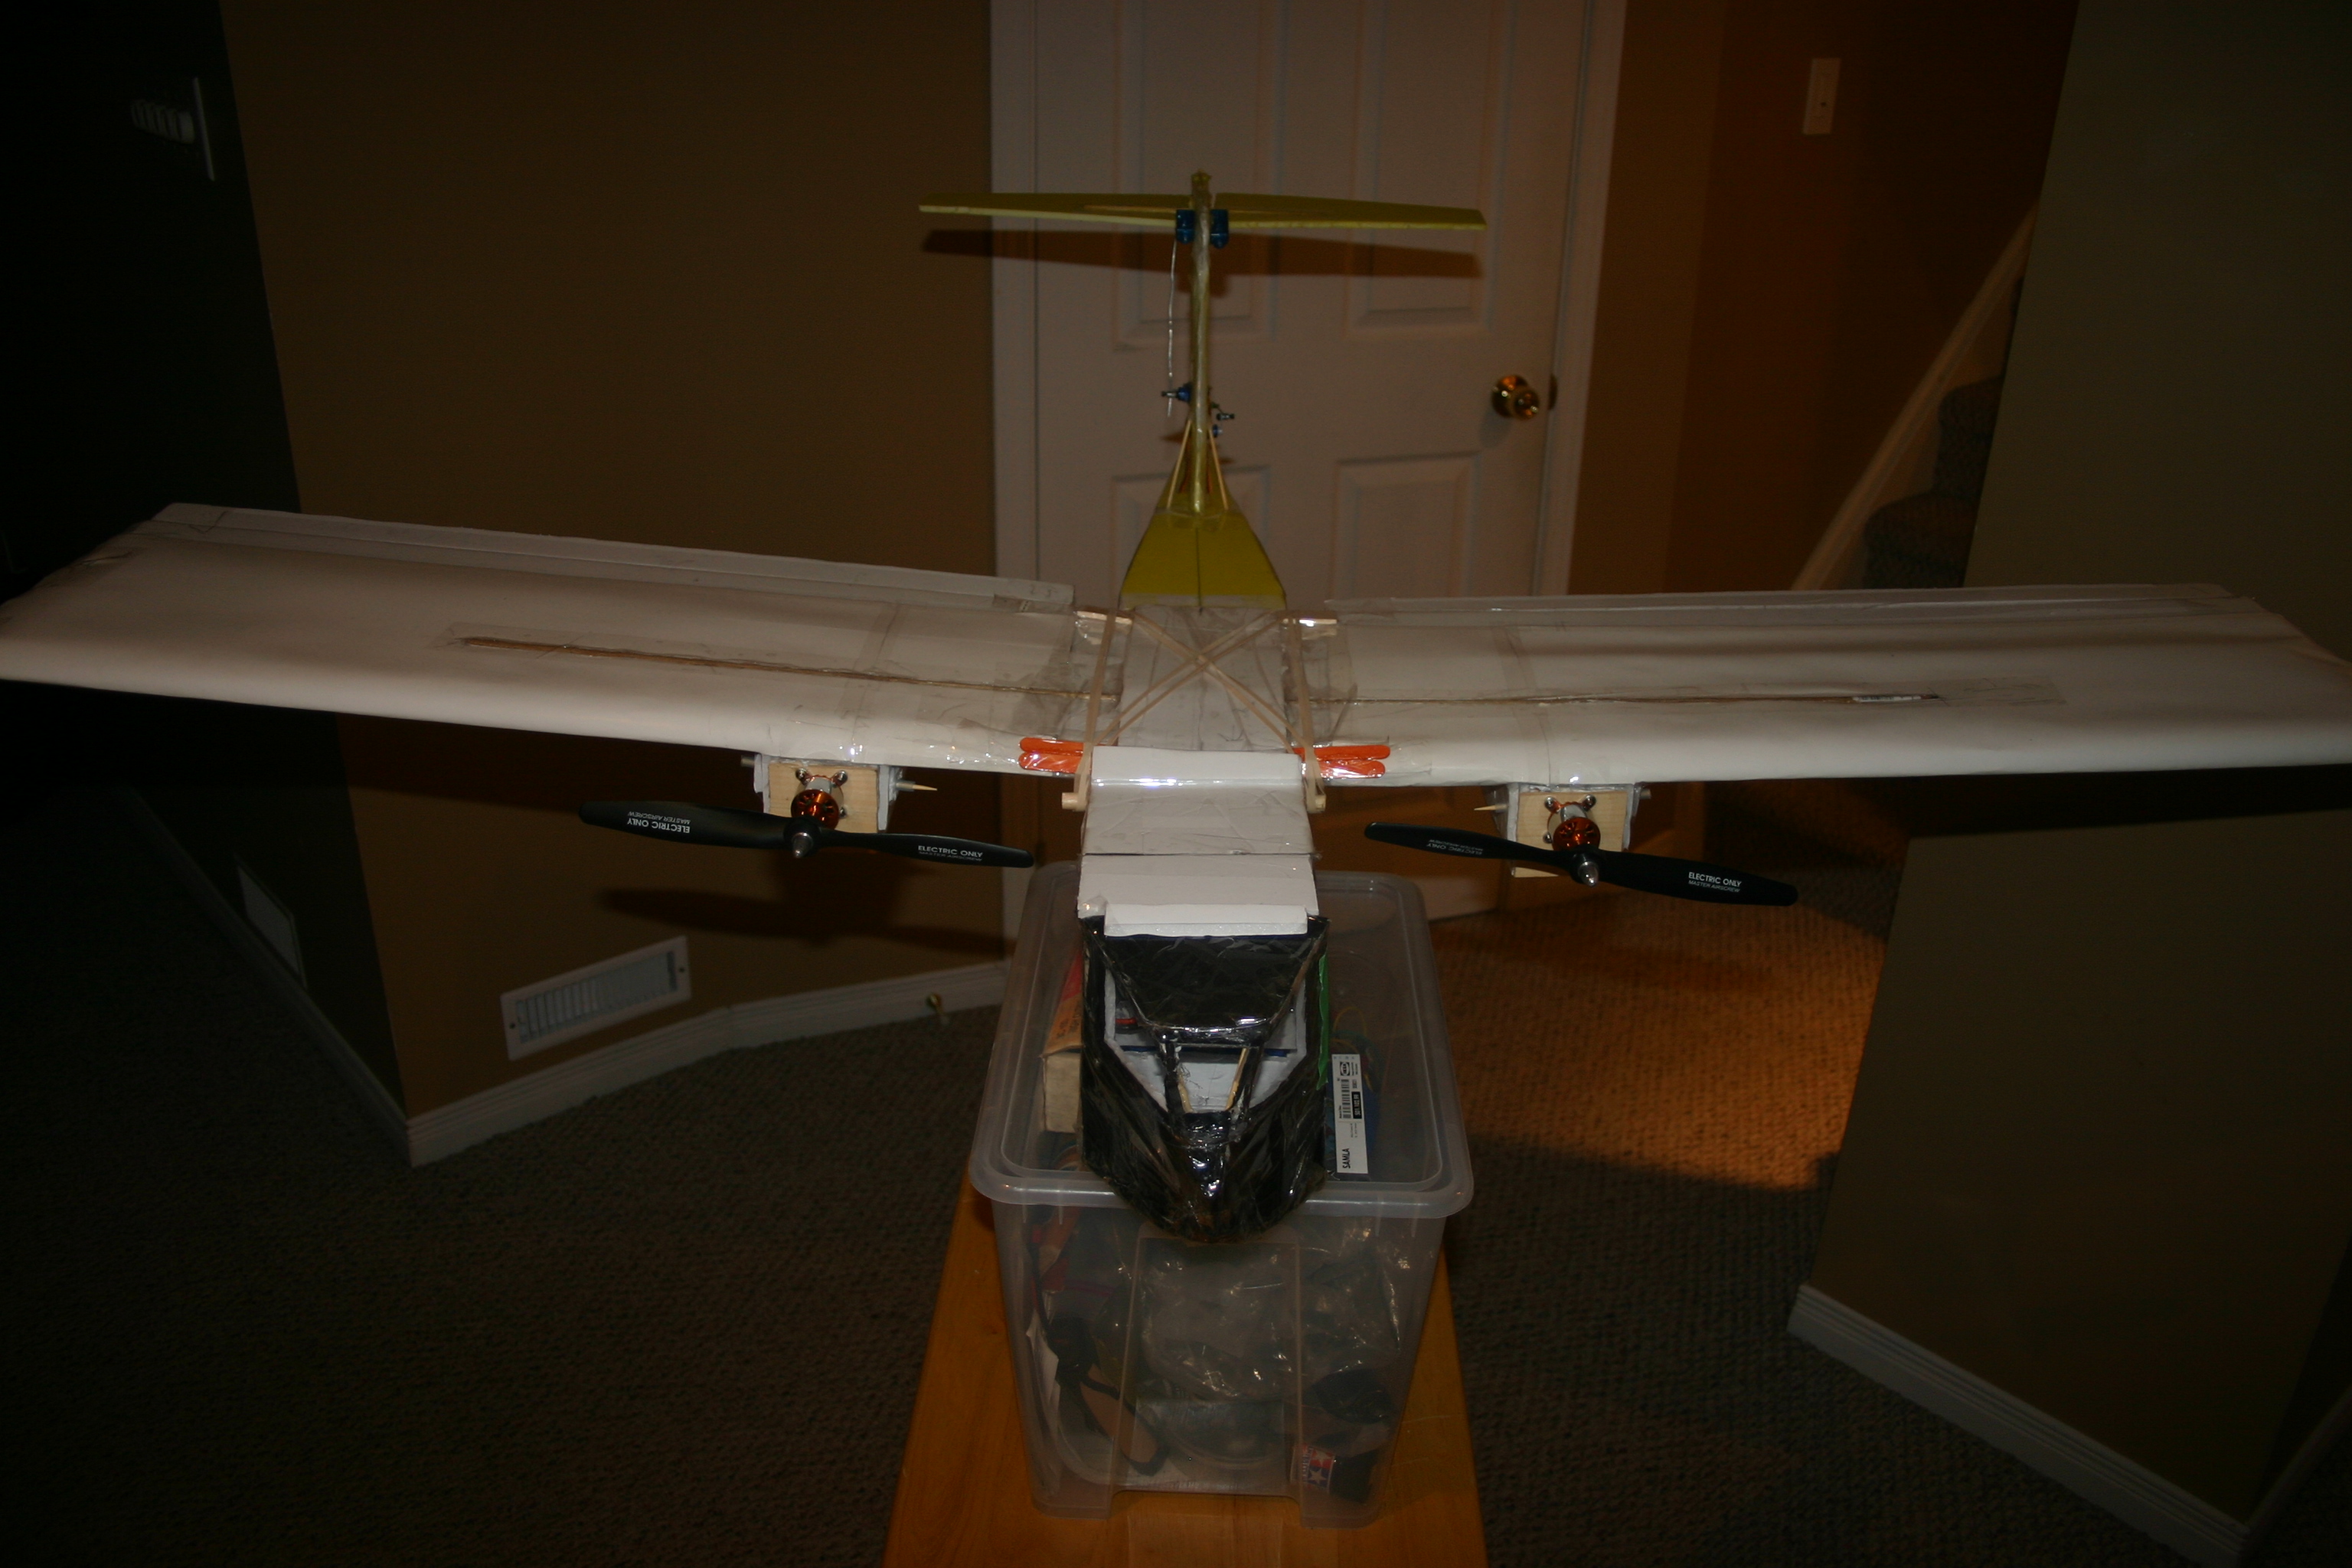
Testing the wing fit.
With the rubber bands in place I measured 9″ from the floor to the edge of the wing tips.

Cut in new access points and reenforces the wing section area on the air frame.

So a day later we need to balance the props and check the shafts.

I did a static balance test and it is pretty good.

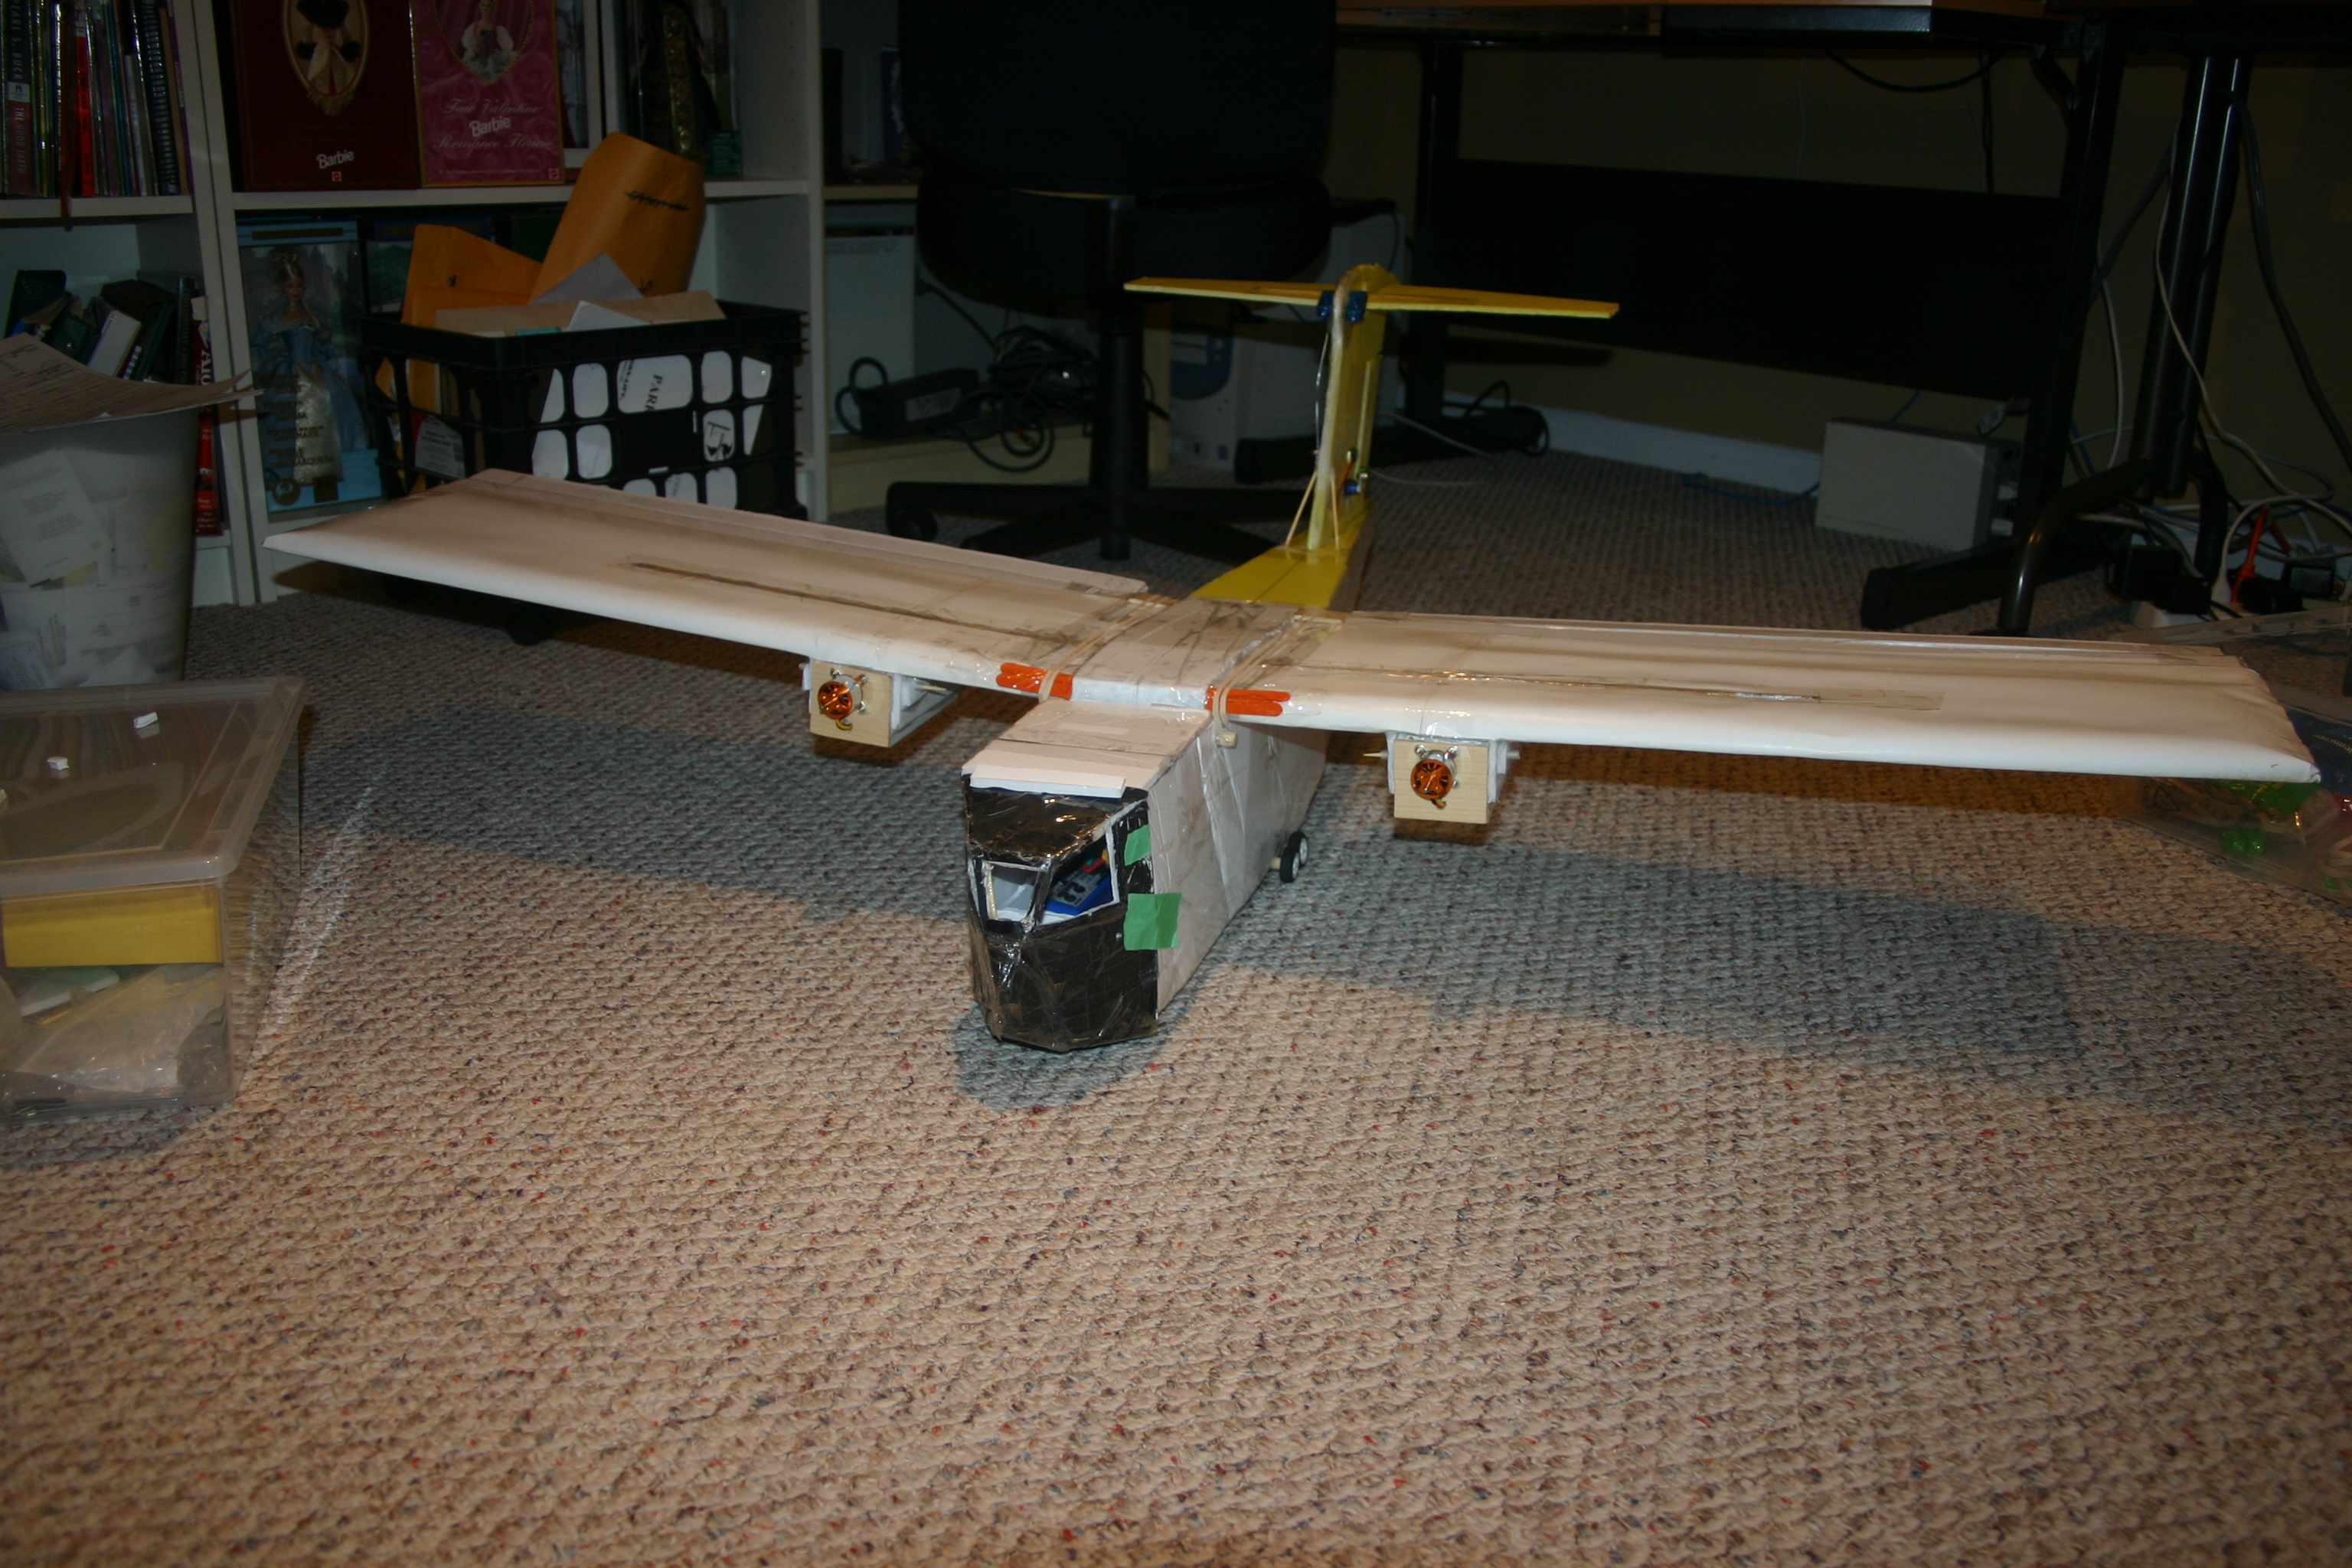
She looks like a plane again.

The nose still looks decent. I did have to replace all the plastic/windows.

You can see the dowel tape/glue job. The wing feels really nice now. A lot stronger.

Next plane will have this build right in.
Wont fly with the gopro till later on.

The first few flights will be limited.

So I can asses any issues.
That said I feel this is a good recovery.

Will report back when she takes to the skies. Sunday was wet and cold…
